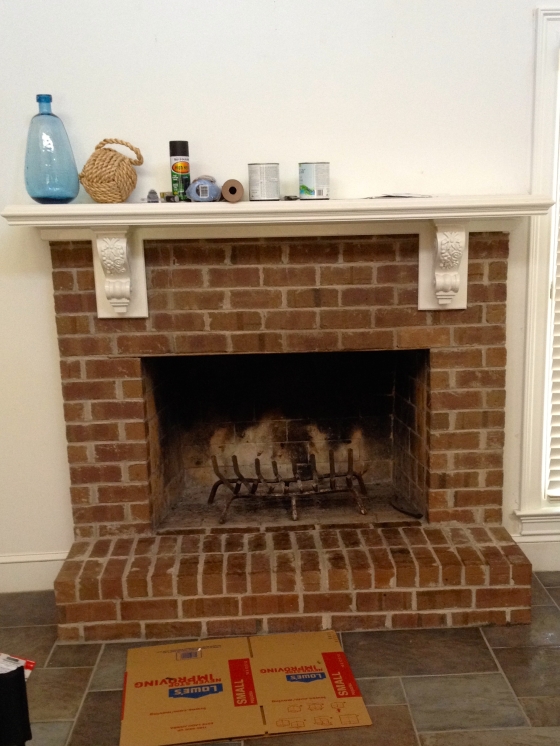
I decided that my first DIY project for Searenity Now would be to tackle the fireplace. It wasn’t ugly but it didn’t look beachy. I searched Pinterest and lots of other sites to find out how to give the fireplace a makeover, and I found an easy step-by-step guide on the Lowes site.
One rainy day, I went to Lowe’s on my mission to find the paint colors I wanted to use. I wanted a white shade for the background that blended in with the white on the walls and then for the darker color, I wanted something that wouldn’t offer too much contrast. I ended up using Benjamin Moore White Dove for the base (because I happened to have it already). For the top coat, I used Oatlands Subtle Taupe by Valspar (6005-1B).
The first thing I did was to wipe off the exterior brick with a damp rag. I also ran a hand vacuum over the exterior to get cobwebs and any dust and debris off the hearth. No offense to the previous owner but let’s just say that she could have spent a little more time on cleaning. I didn’t bother with the interior of the fire box as I knew I was going to put a screen over the front. If you want or need to paint your firebox, I recommend you start with that project before moving on to this project. I did paint the one row of bricks around each edge but nothing inside the firebox.
I then taped some paper to the floor using FrogTape and also taped around the edge of the brick to protect the wall. You know, just in case of a spill. I am prone to accidents so I plan ahead! By the time I had the paper down the brick was dry from cleaning and it was time to start the painting.
For the white coat, I used a cheap brush and a roller specifically for rough surfaces. I think Lowe’s offers “Good,” “Better” and “Best” brushes. A “Good” brush is fine for this project because I promise you will throw it away when you finish. First, using the paint roller, paint the entire brick area. You will use the brush to paint the mortar that the roller doesn’t cover. Load a lot of paint on the brush because the mortar between the bricks will really need a lot of paint for coverage. You may have to move your brush in both directions and even jab at the mortar a little with the brush to get the paint in all the cracks and crevices. You really want to make sure you have everything completely covered with your white color before moving to the next step.
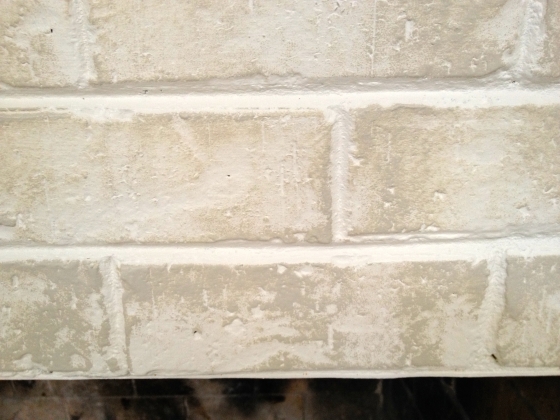
Let the white coat completely dry and touch-up where needed. Once that coat is complete, you can move on to your contrasting color. This is where I stopped using the Lowe’s instructions and came up with my own technique. I used a 4″ foam roller for the top coat with the contrasting color. Foam is important as you only want to lightly hit the high spots of the brick, not completely cover it. This top coat takes about 20 minutes. Very quick and easy!
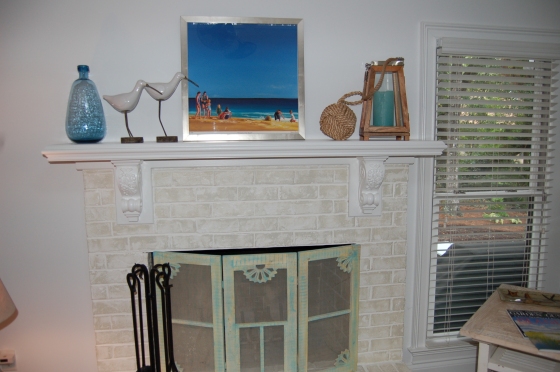
I completed the entire project the same day and I love the result. Don’t you think it looks more beachy? And guess what….no spills! This was a very easy project. Here is the final with the new decor.


