Powder Room Weekend Project

My husband, son and I actually tackled this project a few months ago but I moved on to the next project and forgot to share!

We wanted to give our powder room a little makeover!  Something we could tackle over a long holiday weekend. We pulled everything out and added board and batten going up about 2/3rds of the wall. I fell in love with the color Revere Pewter by Benjamin Moore on Pinterest and just had to have something painted in this color. We painted the bottom portion of the walls the same as the trim and then Revere Pewter above it. It is a beautiful neutral gray. Not too blue and not too pink….just right.

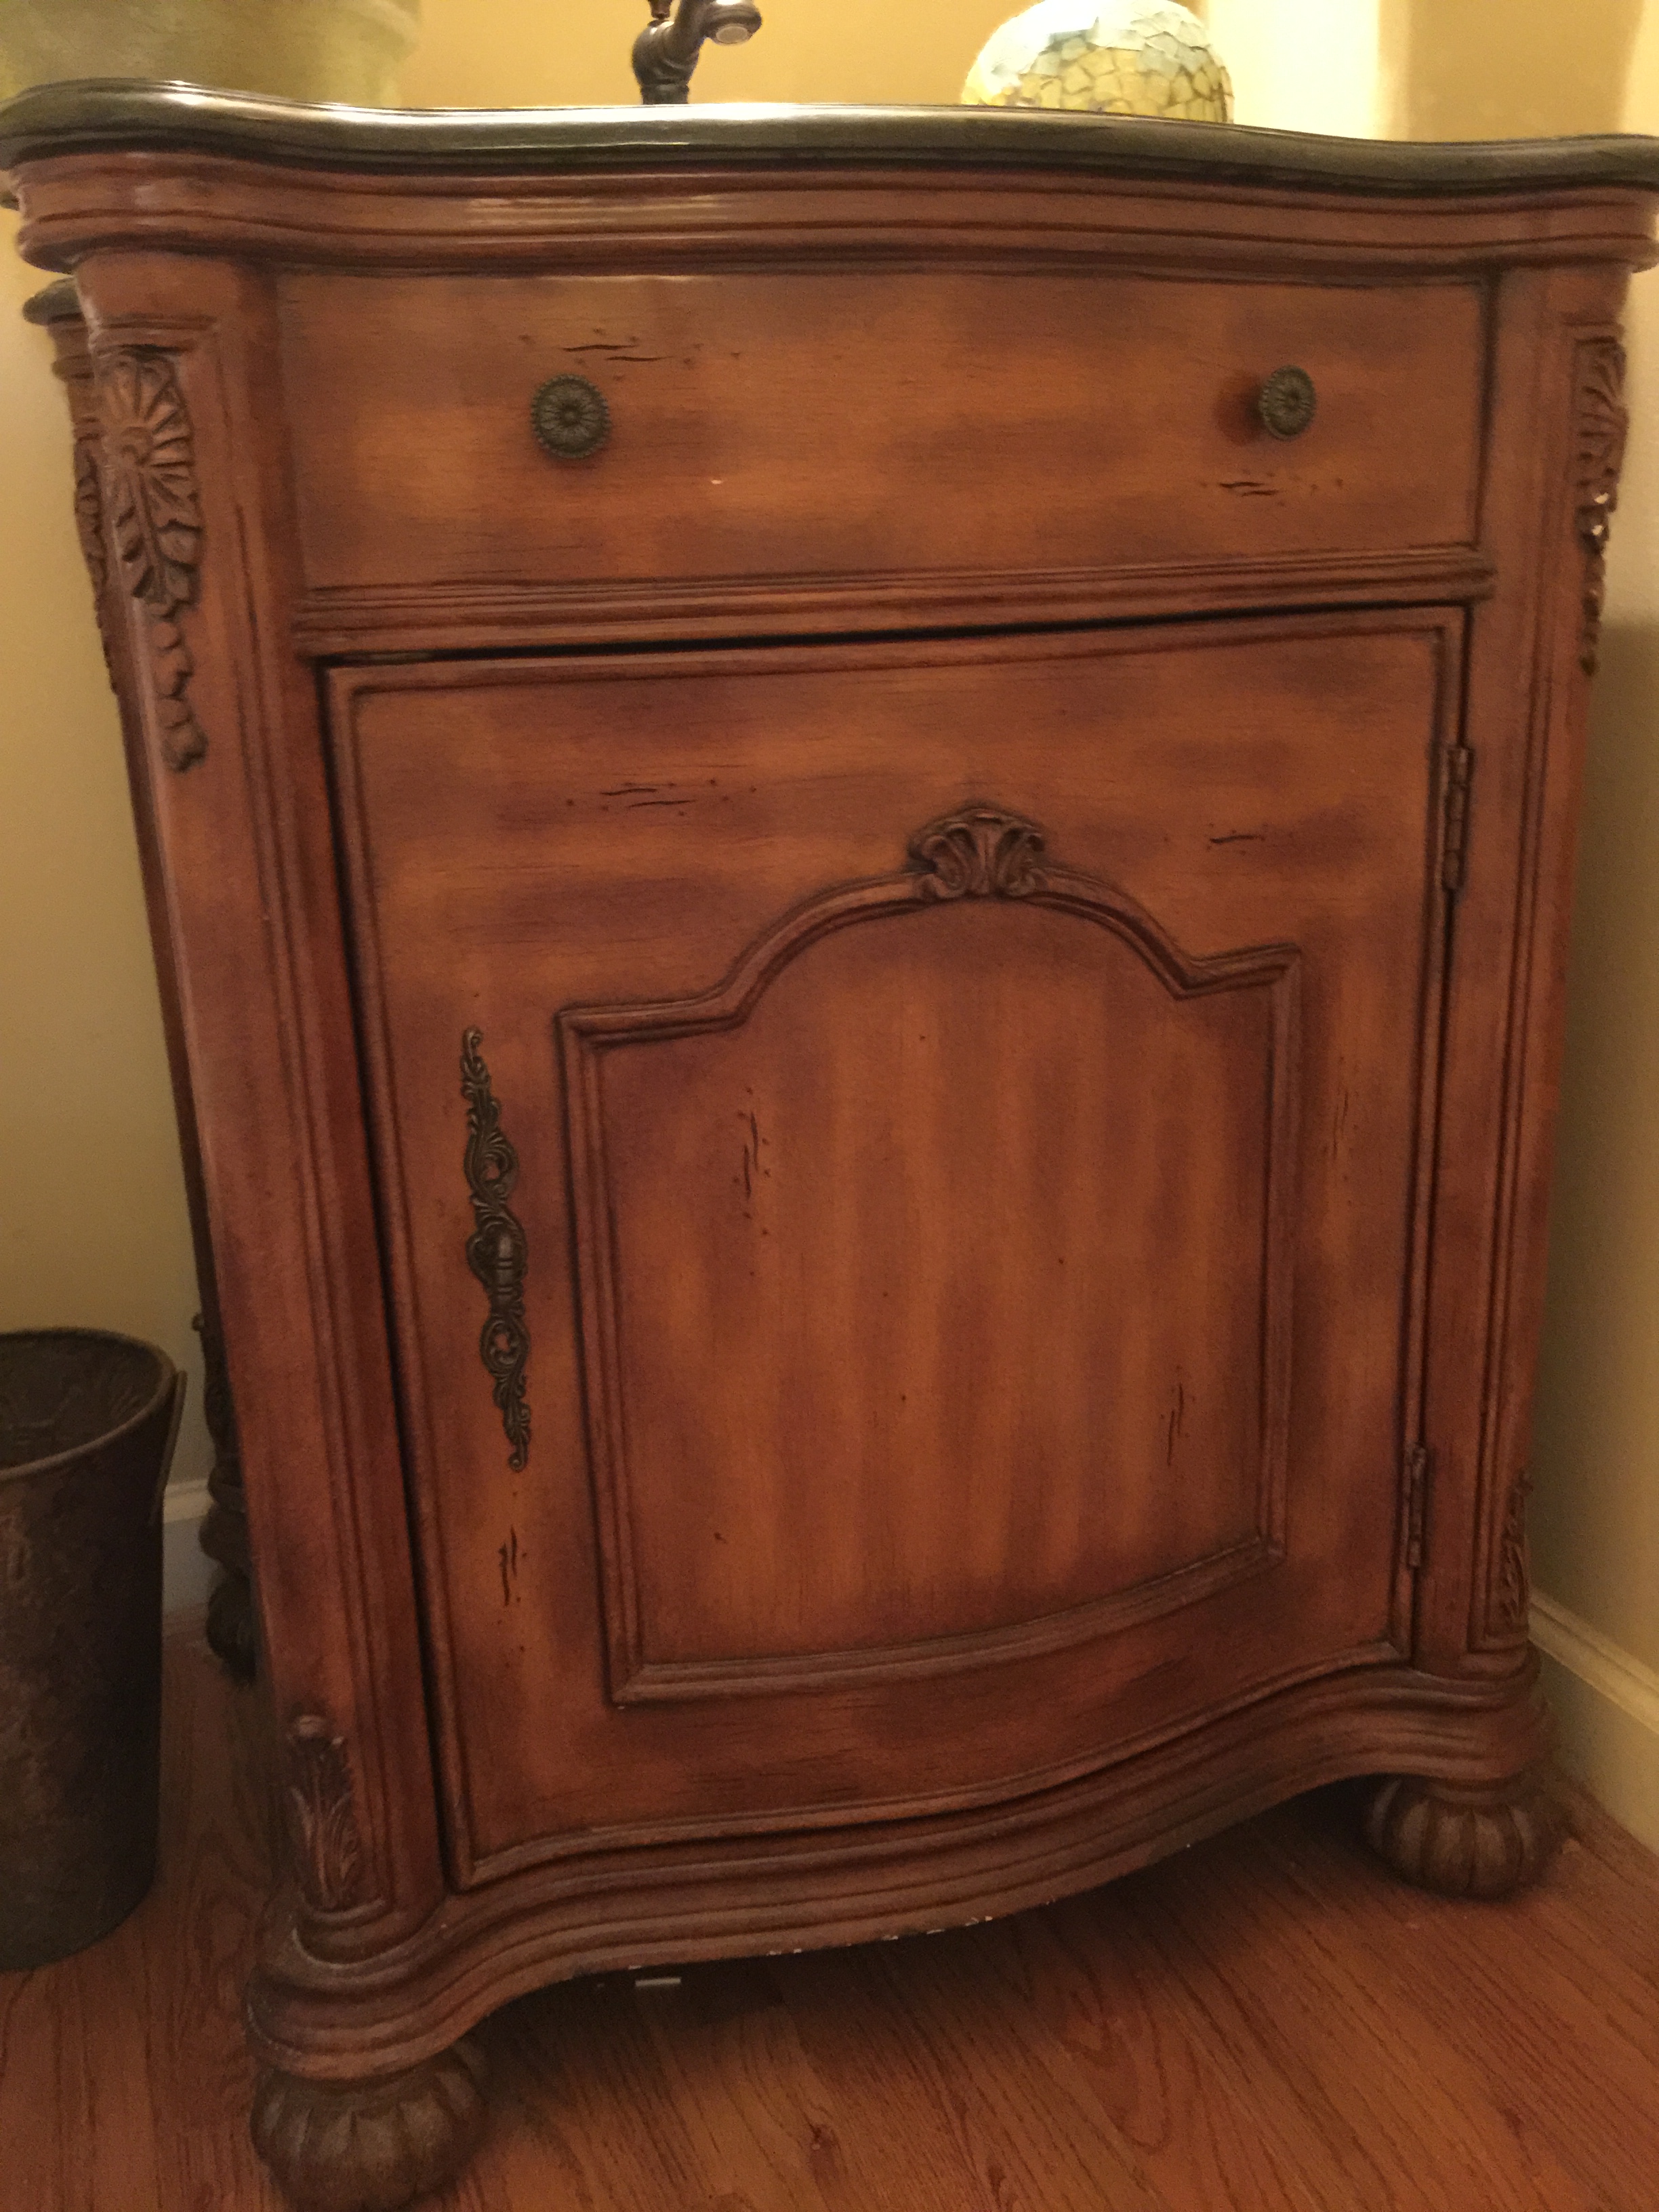
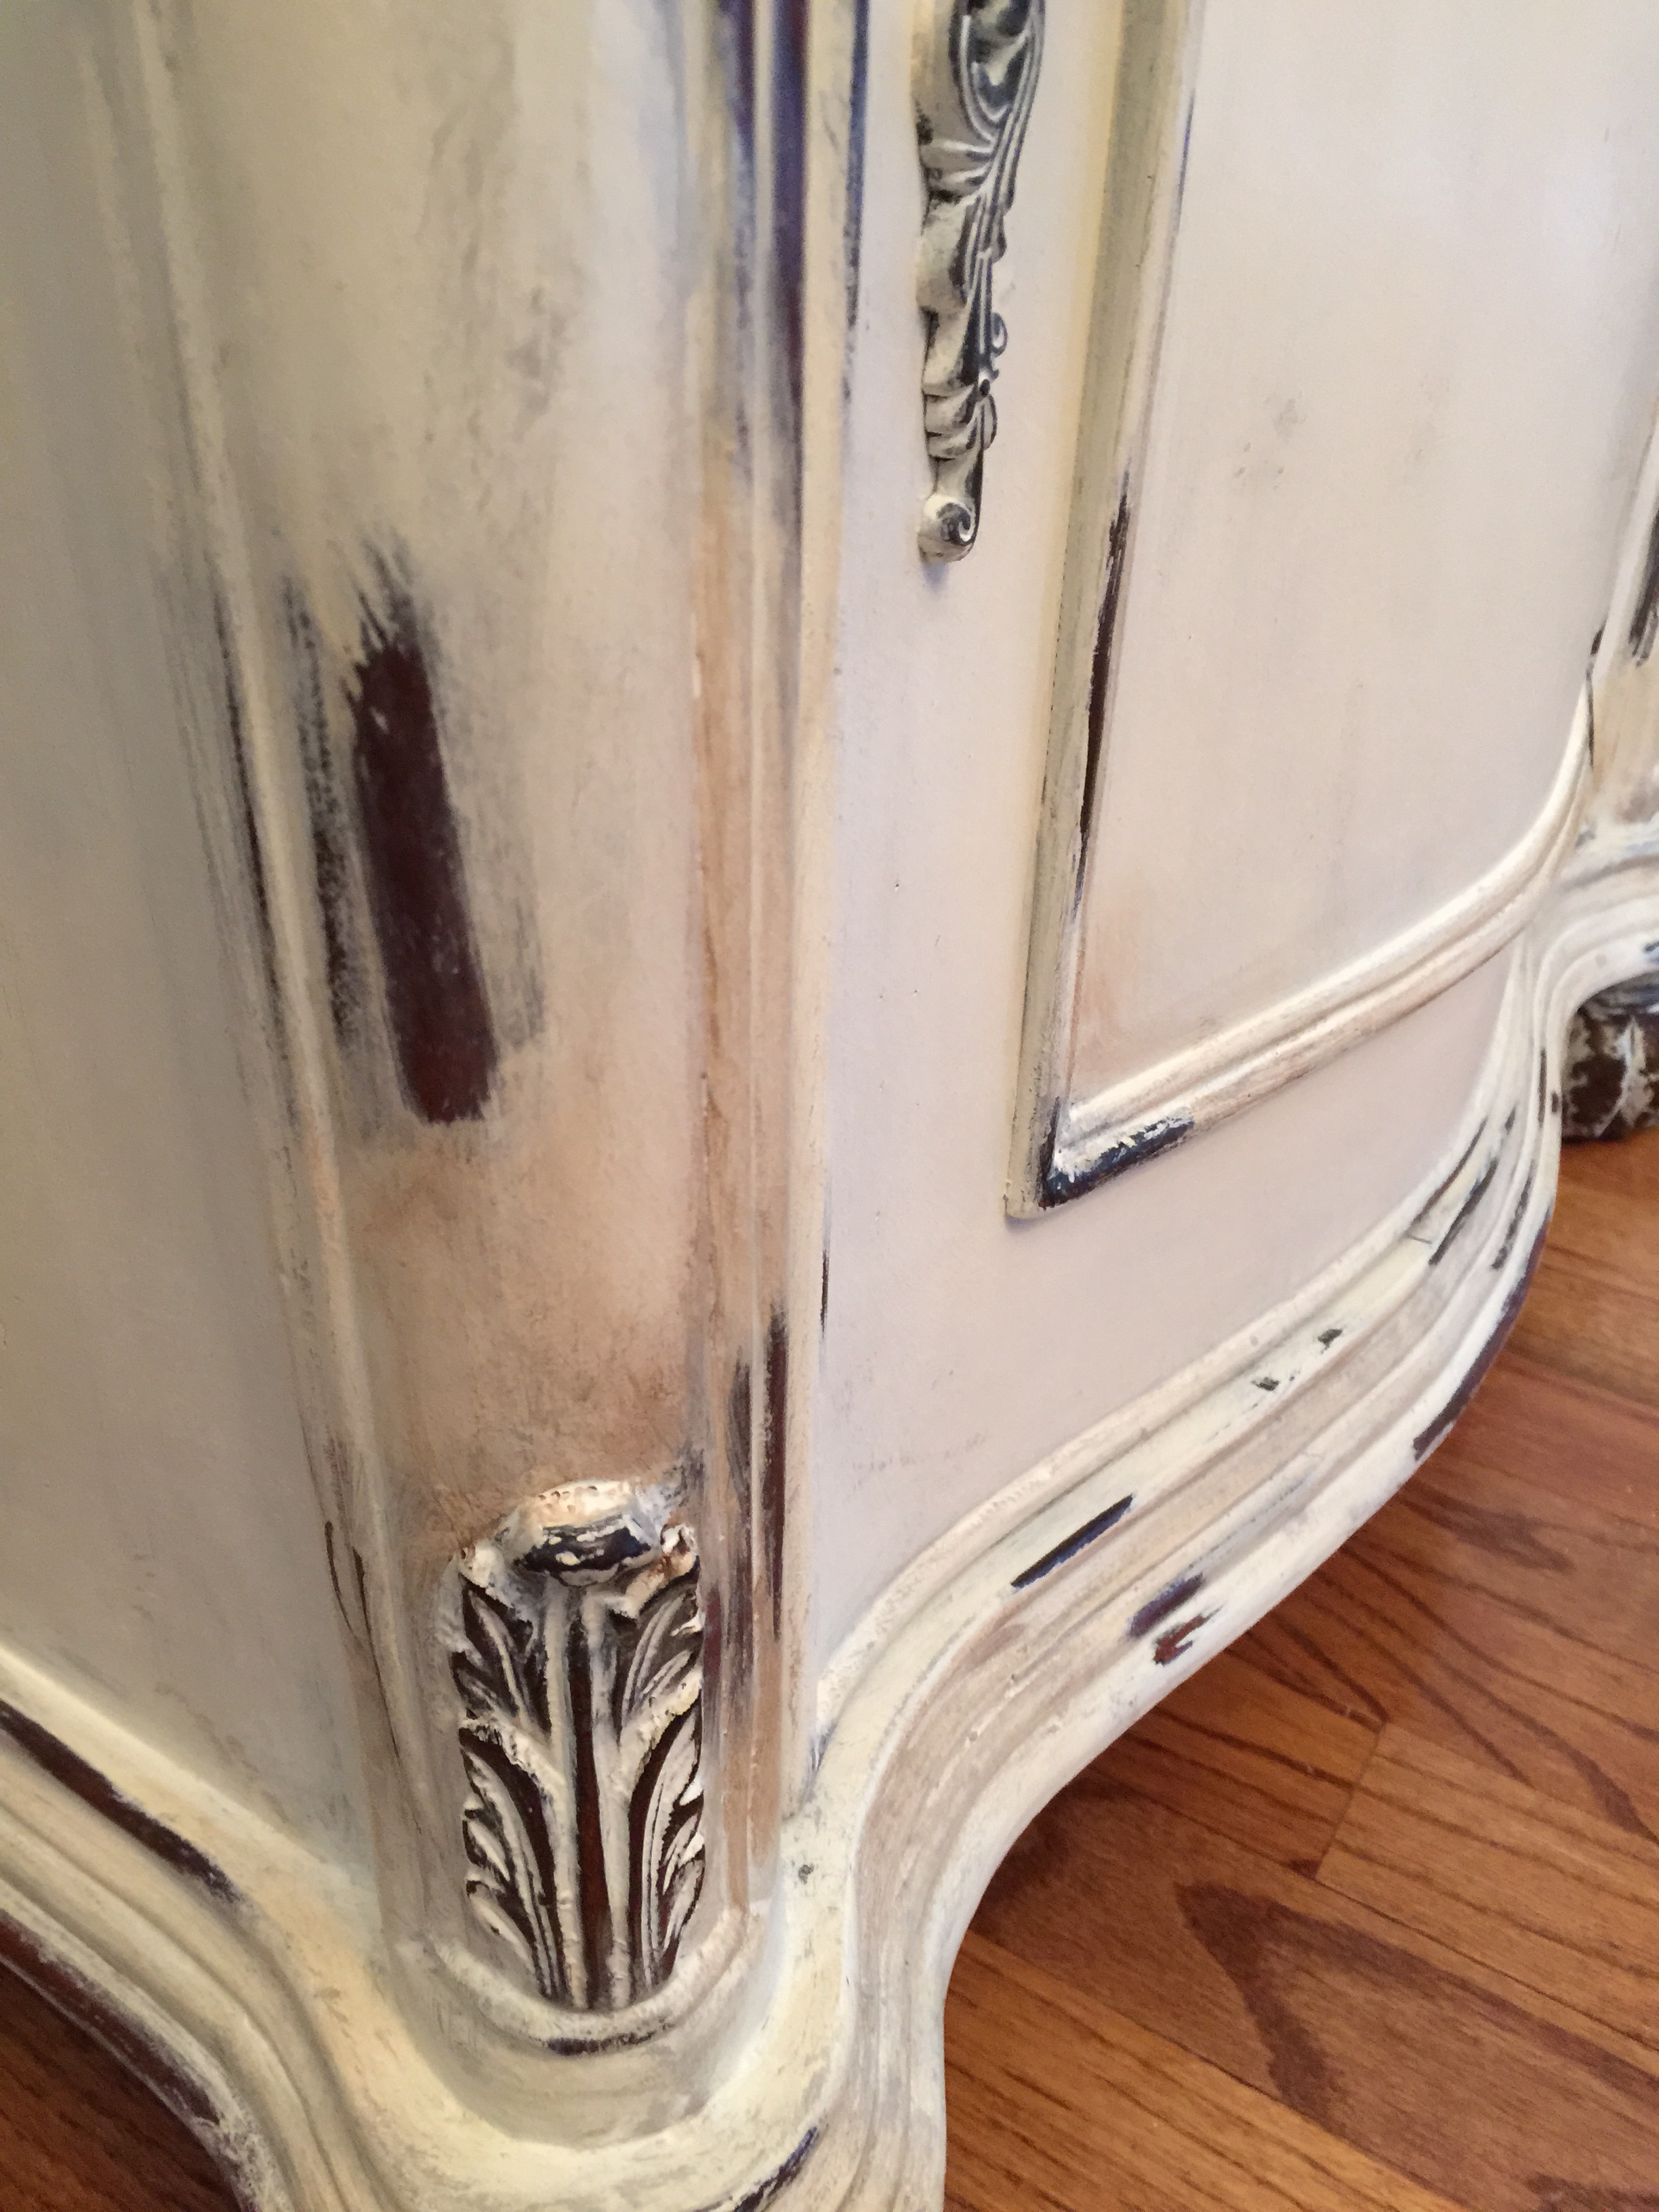
It was time to put my novice chalk painting skills to the big test. I have painted a few end tables but never tackled the focal point of the room….until NOW! I decided to paint the cabinet for the sink. Our home is craftsman style and the cabinet is much too formal for our style. I knew I wanted a distressed look and chose Annie Sloan Old White and French Linen to create the look.  This is how the cabinet looked when I started:

Original Cabinet

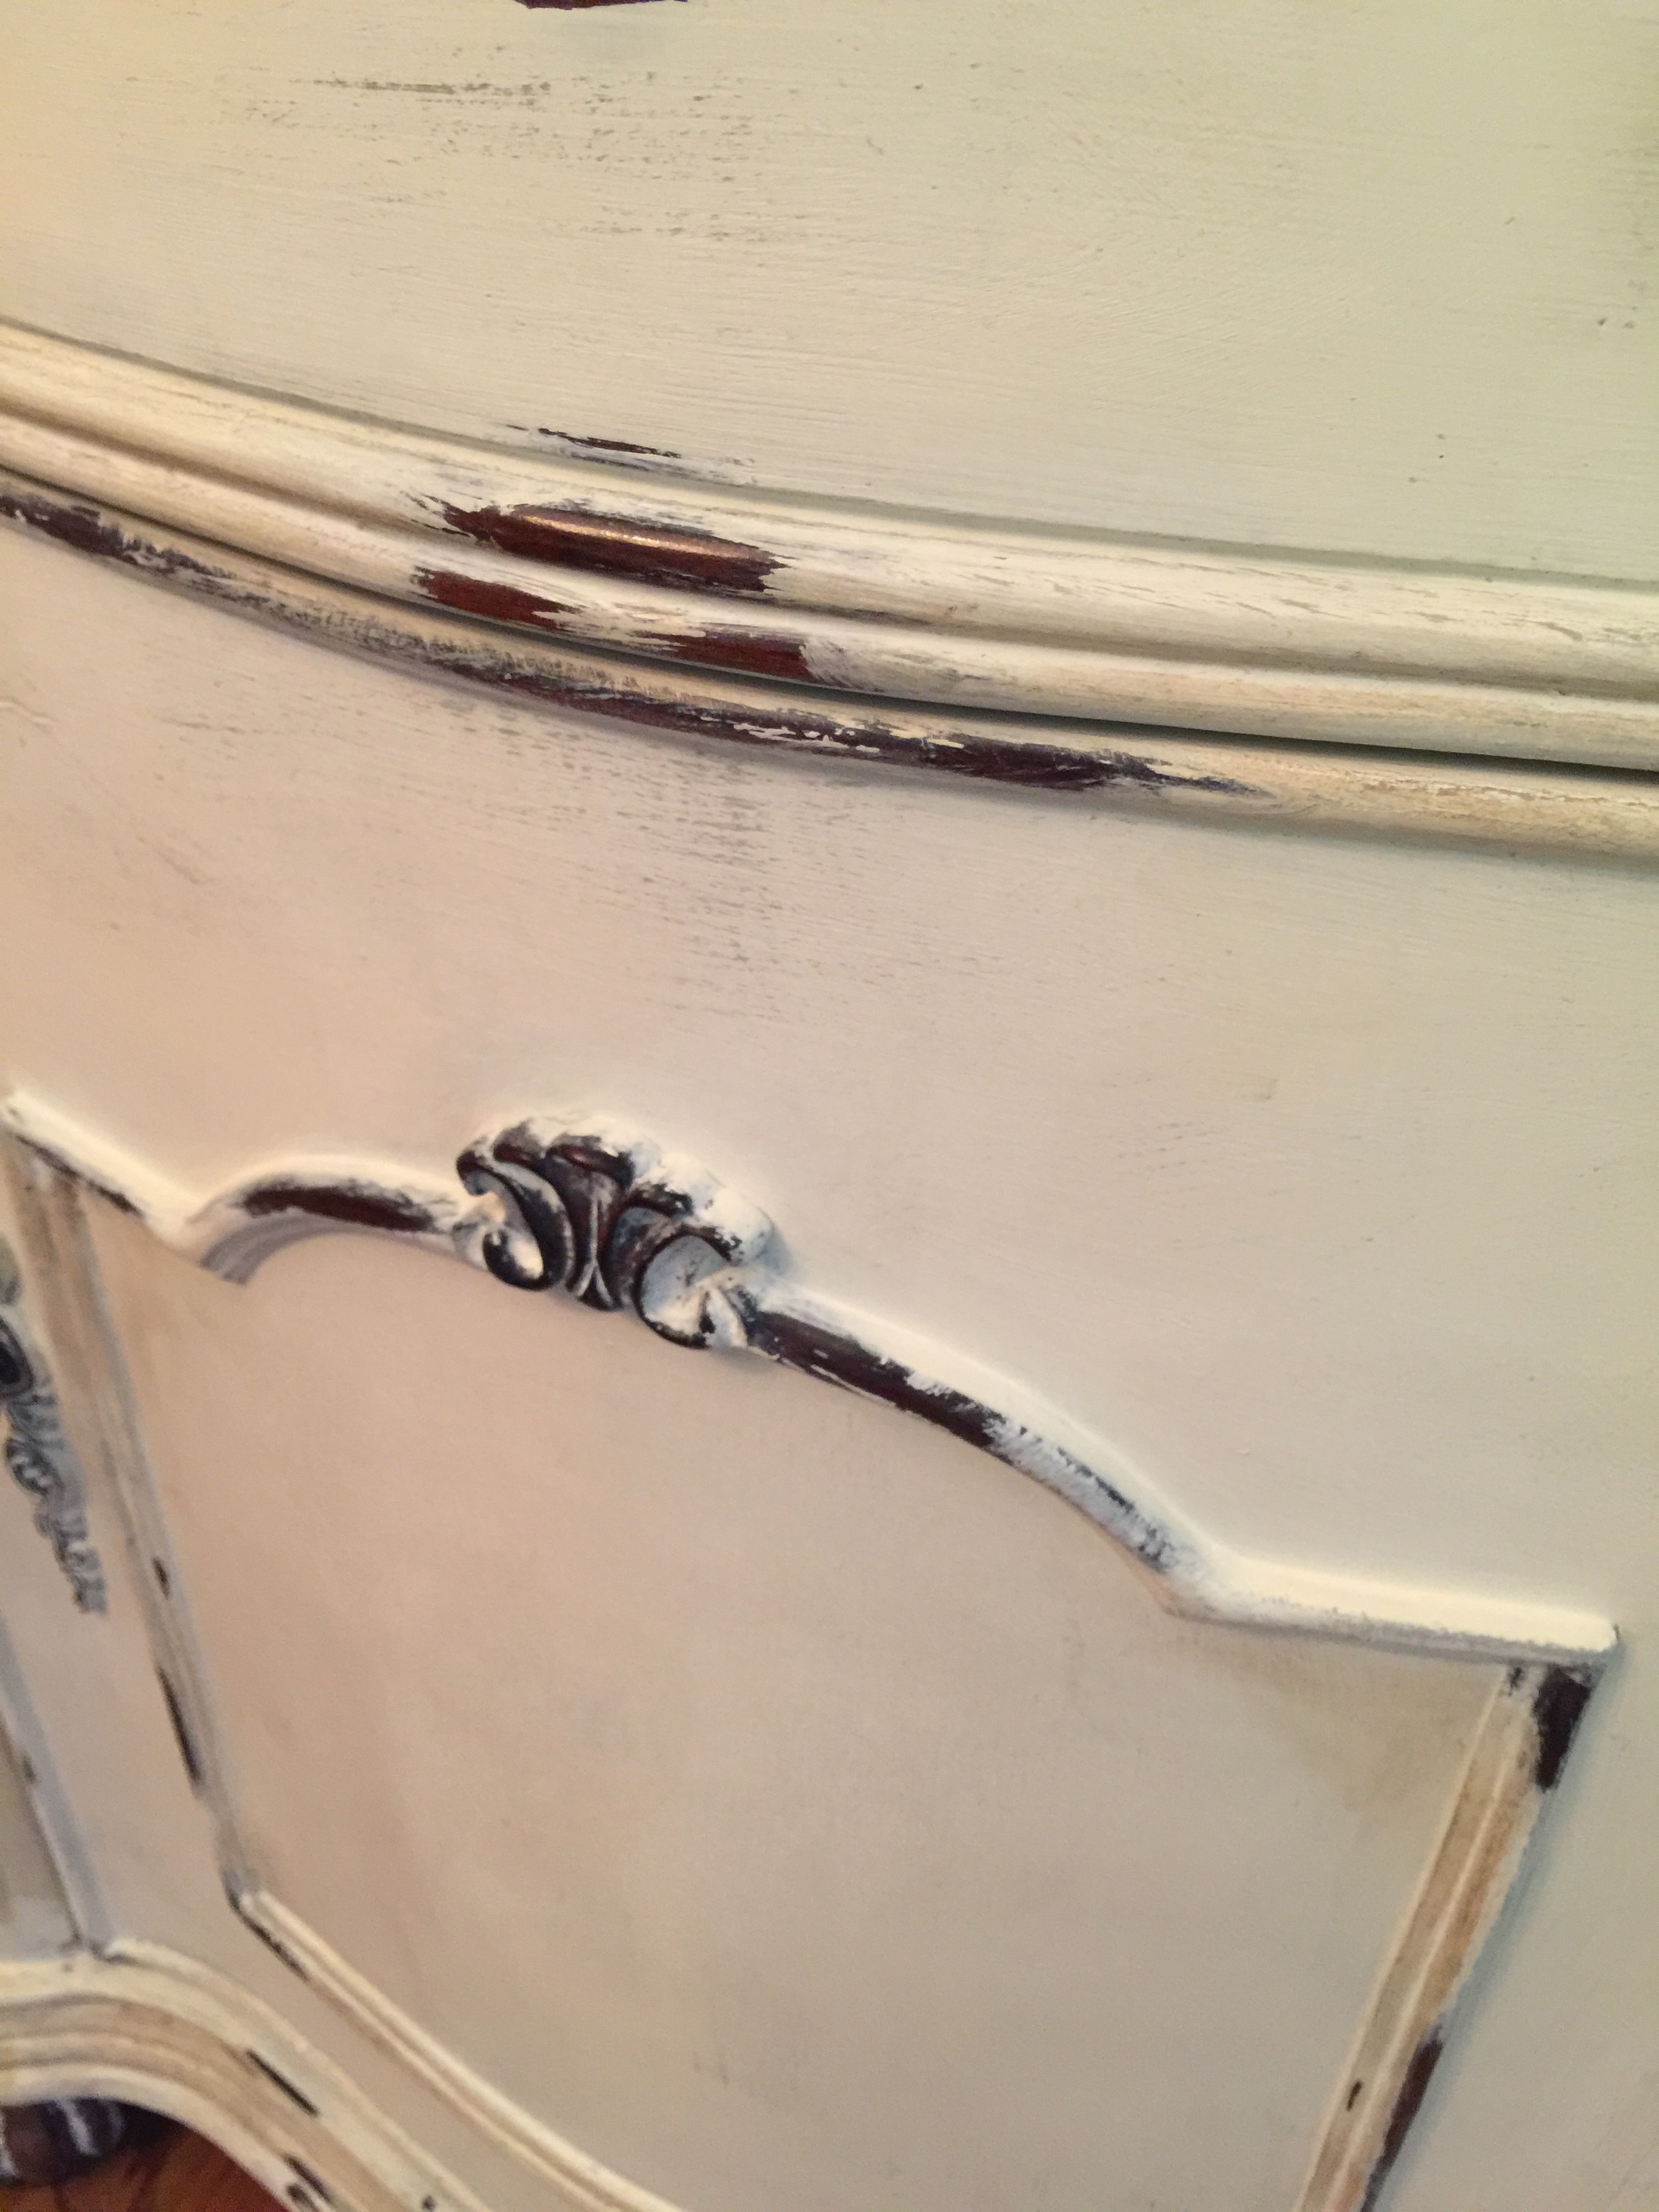
First I painted a coat of Old White on the entire cabinet.  Next, I took French Linen and really worked it into the raised decorative areas and then added another coat of Old White.  I wanted the wood to show through in many areas and decided to try a new technique for distressing it.  I actually did the painting in my dining room, yes I know, I really know how to live on the edge and take risks!  Because I was in the dining room, I didn’t want to create a lot of dust from sanding.  I kept a damp rag with me and while the paint was still wet, I wiped off the paint on the decorative areas and corners where I wanted the original wood to show.  The terrific part was that I didn’t have to go back and heavily sand the cabinet when I finished.  Wiping the paint off doesn’t offer a subtle distressed look but I am ok with that.  I did do a light sanding all over before applying the wax.  I used AS clear wax over the entire piece and then used AS dark wax in the corners and over the decorative areas.

I love how it turned out.  It was one of my easiest projects.  I need to find some artwork for the room now and then I can move on to my next project.
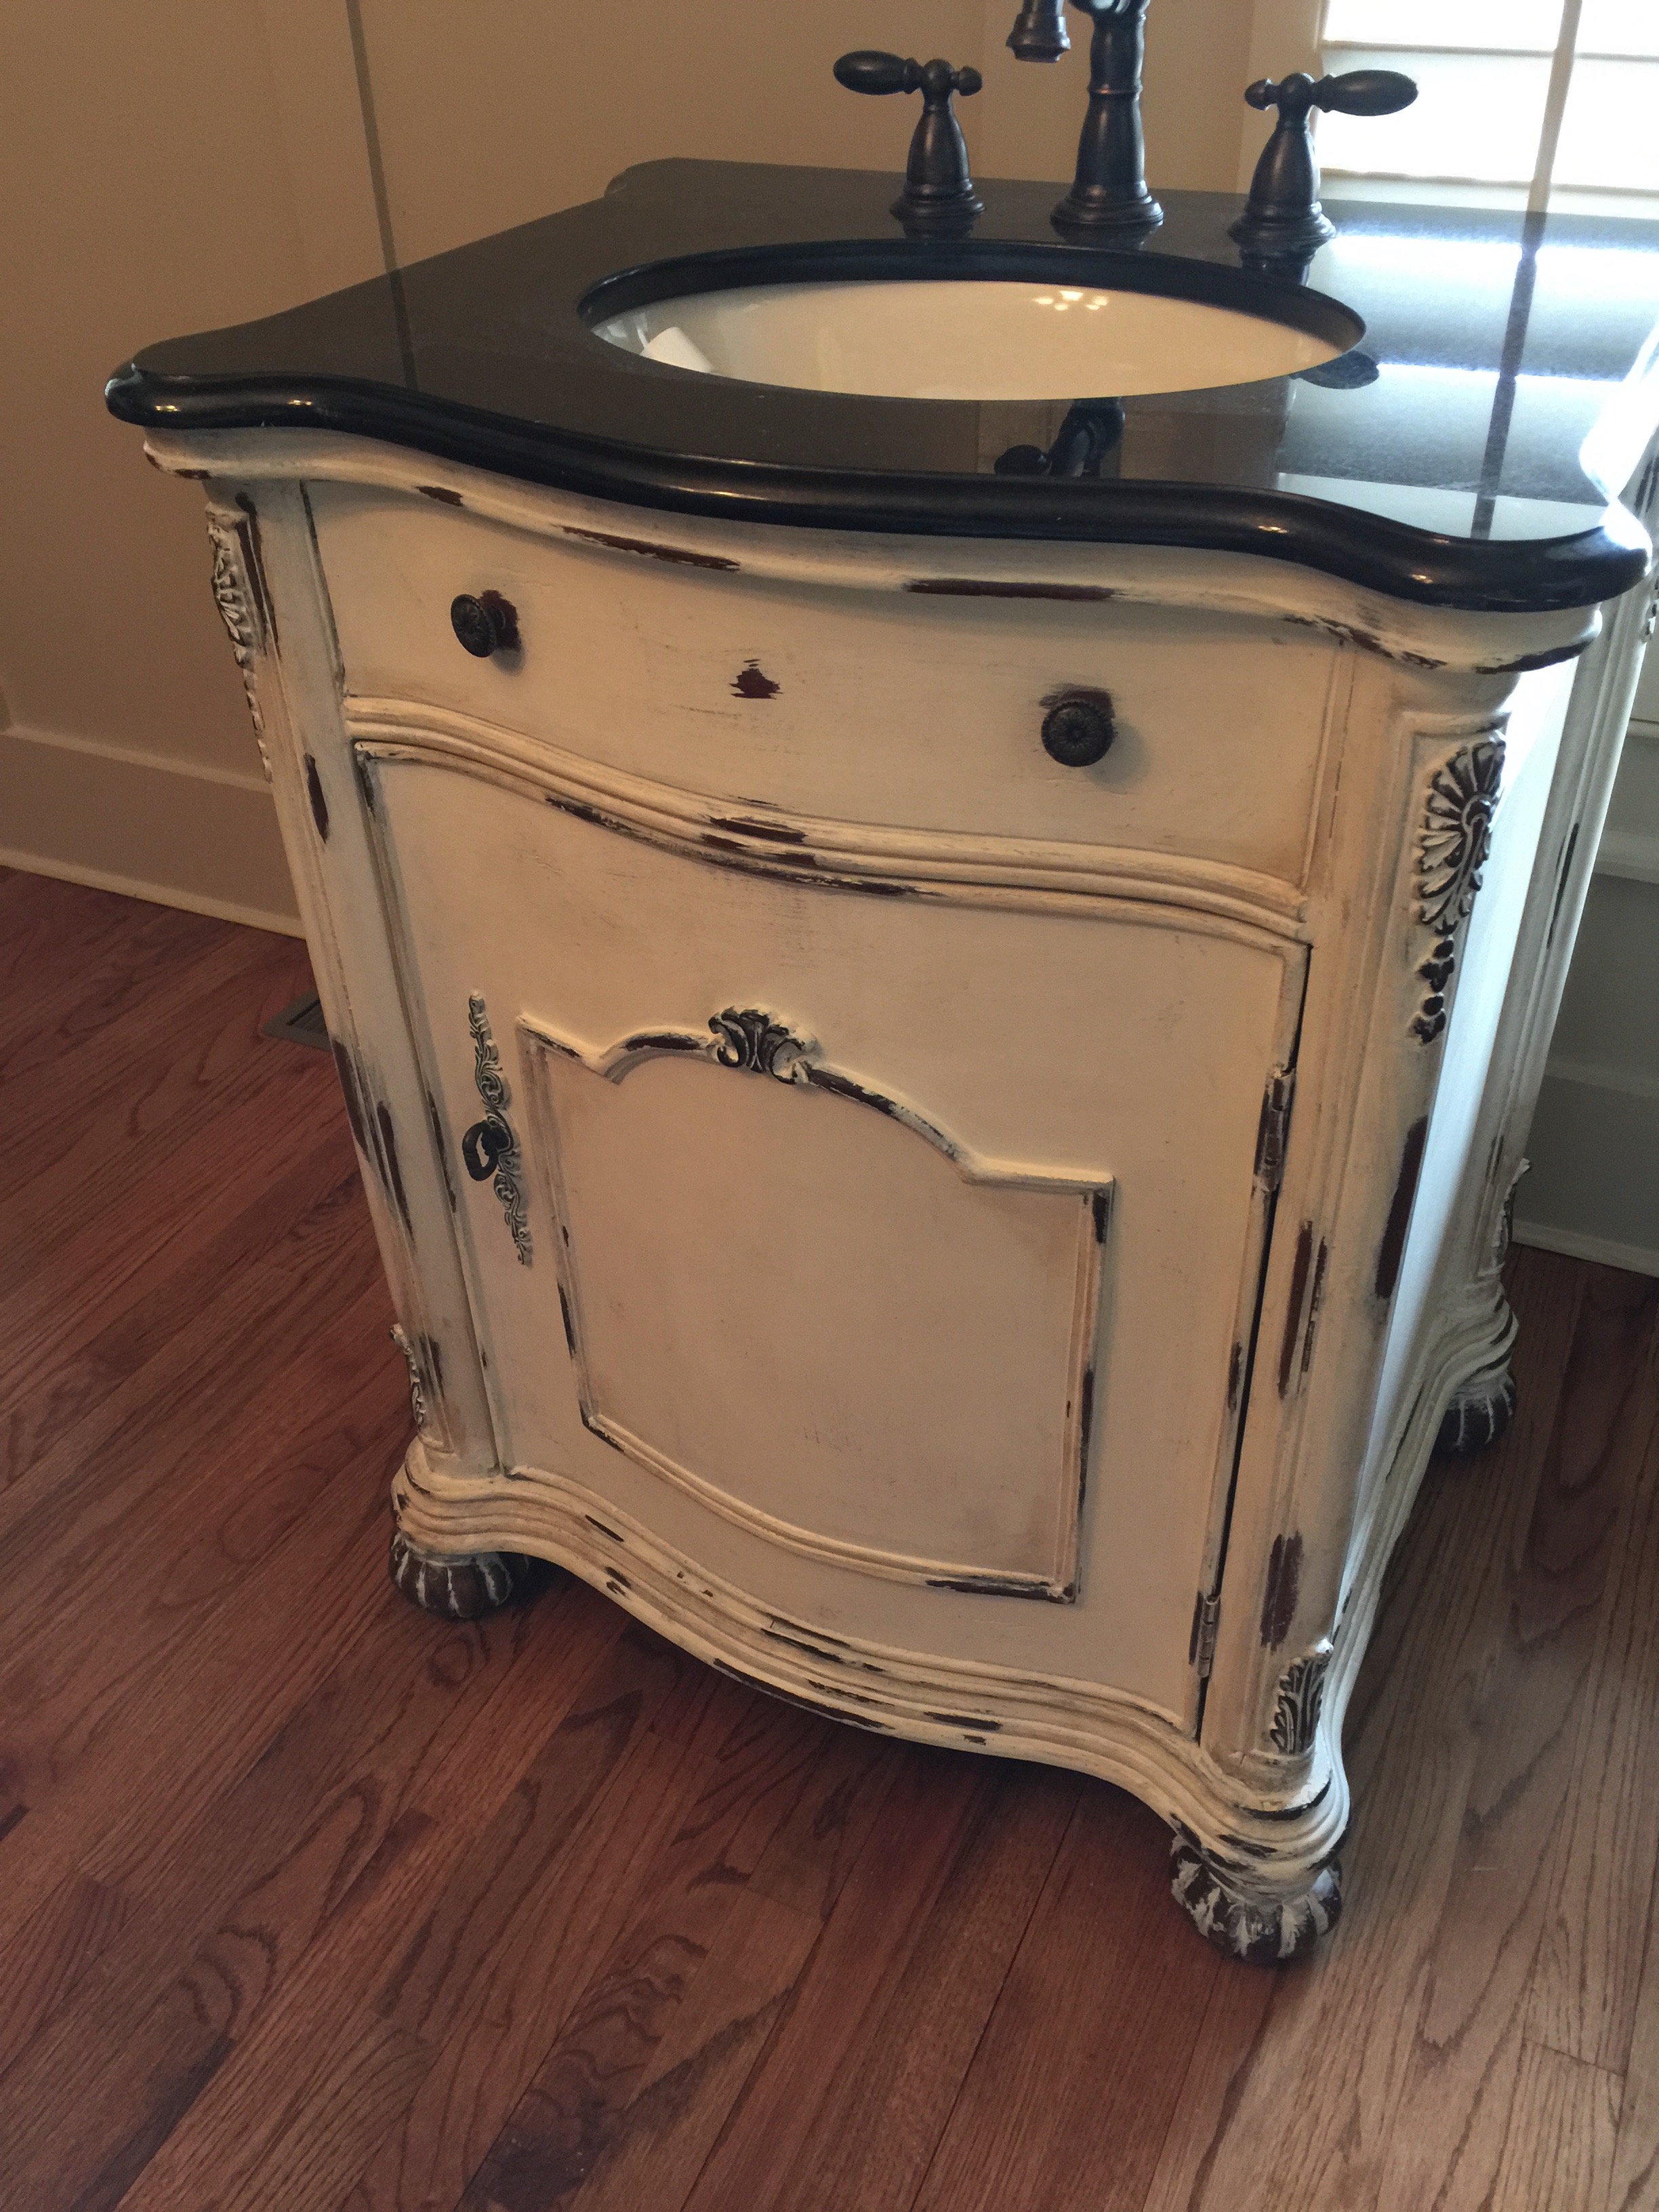
Sink Distressing 1


Sink Distressing 3


Sink Complete


Bathroom Complete!

Bathroom Complete!

Have a great weekend!

Kimberly

Advertisement

Meanwhile on the inside…

While things have been in the works on the outside, we have been actively working on the inside. We put in new floors throughout the house, redid the bathrooms and had the house completely painted. All new appliances gave a much needed facelift to the kitchen.

Mr. 25th Hour had to move in for a few weeks and give the project his full attention. He did a great job adding board and batten to two of the bedrooms and it really provided a nice touch. In the master, he did one wall as a focal point. In one of the secondary bedrooms, he added the trim to all four walls but only covered about 2/3rds of the wall and added a fresh pop of green color (Hearts of Palm – SW6415) above the bright white walls (Charleston White by SW).

In the third bedroom, we decided to add twin beds and we wanted to add a fun element in this room as well. We selected exterior galvanized metal lights that we installed over each bed and also added individual light switches by each bed so that the lights could be used as reading lights. We also picked out a fun vivid blue for this room – Swimming (SW6764).

We used Charleston White as our main wall color throughout the house and Lattice (SW – 7654) on the kitchen and bathroom cabinets.  We loved the color “Swimming” so much that we decided to paint the interior of the garage the same color.  It is a nice cheery surprise each time we arrive.

Here are some pictures of the before and after of the interior.


Family Room and Dining Room BEFORE

Family Room and Dining Room BEFORE


Family Room "AFTER"

Family Room “AFTER”


Master Bedroom BEFORE

Master Bedroom BEFORE

Master Bedroom with new floor, board and batten wall treatment.  Love the light blue ceiling.

Master Bedroom with new floor, board and batten wall treatment. Love the light blue ceiling


Queen Bedroom BEFORE

Queen Bedroom BEFORE

Queen Room AFTER with new Board & Batten trim throughout the room

Queen Room AFTER with new Board & Batten trim throughout the room


Twin Room BEFORE

Twin Room BEFORE

Twin Room AFTER with Individual Lights Over Each Bed

Twin Room AFTER with Individual Lights Over Each Bed


Porch BEFORE

Porch BEFORE

Porch "AFTER" with new paint and furniture

Porch “AFTER” with new paint and furniture


Kitchen Before

Kitchen Before

Kitchen "AFTER" with painted cabinets and new appliances

Kitchen “AFTER” with painted cabinets and new appliances


SeaRenity Now our home away from home at IOP

“SeaRenity Now” our home away from home at IOP


We are very happy with how things turned out.  As far as the exterior, More About That next week!

Happy Valentine’s Day! ~ 

      25th Hour Gal


All Decked Out

With the old shrubs cleared away, the next step was to design the new front porch and find the builder for this project. We knew we wanted something bigger and honestly, I was the one that pushed for the extra space. Mr. 25th Hour was fine with a slightly smaller porch. Thanks for letting me win this one!

Anyway, we spent lots of time riding around and taking pictures of front porches on other homes that we liked. This decision was one of the easiest ones that we made in the home renovation project. We also decided to add a deck coming off the back screen porch. We wanted something for grilling but also an outdoor area where we could sit and the grill master (Mr. 25th Hour) could relax while grilling the steaks we plan to have after finishing this project!  We designed an area with built in benches and the cool part is that we added storage compartments under the seat of each bench.

Back deck with Storage Benches

Back Deck With Storage Benches

Front Porch "BEFORE"
Front Porch “BEFORE”


Front Porch "AFTER"

Front Porch “AFTER”


We think both projects turned out great!

Leap of Faith

We may have taken a seriously wrong turn but I don’t think we have! We have been searching for a small beach house in the Charleston area for several years. We just couldn’t find the perfect one for us. Then last year, we found one on the market that was in our price range and we thought had great potential. To say that it looked sad & tired is an understatement! It looked nothing like a beach house even though the ocean was only a block and a half down the street.

The house was a short sale and we had no idea about the long grueling process. But, we decided to go for it! It took six long….make that very long months from the time we made the offer to the time we closed! I won’t sugarcoat it as it was a painful process. It was also pretty painful for our friends that had to listen to us whine!

But good things come to those that wait, right?! So the house is ours but now we needed an extreme home & yard makeover. On the HGTV website, we found out about a new show and they were looking for people who had just purchased a beach house (check) and wanted to update it (check)! We applied and actually made it through the initial screen but then we were DENIED! Oh well, I love HGTV anyway.

So we will dive in and get the job done ourselves. I hope you follow along to see our progress.  Before we begin, here is the start of our vision…”SeaRenity Now!” If you aren’t familiar with this Seinfeld episode, it is one of my favorites. We decided to name the beach house after it with a play on the spelling (get it?…SEA). If you missed this episode, check out the highlights here “Serenity Now, Insanity Later!”

photo