New Paint, New Driveway and New Landscaping = DONE!

It is time to wrap this remodel. I really admire the HGTV crews that get a home makeover done in three days because that was not our reality!

Everything turned out great though! The new paint colors really brightened up the house and the new grass and landscaping offered a much needed facelift.

Beach house remodel before

Exterior of beach house before


Beach House Exterior Remodel After

Searenity Now After!

Now it is time to go enjoy the beach!  Come visit us at “Searenity Now” in Isle of Palms, SC!

Enjoy your weekend and let me know if you like the new exterior!

25th Hour Gal

Advertisement

Meanwhile on the inside…

While things have been in the works on the outside, we have been actively working on the inside. We put in new floors throughout the house, redid the bathrooms and had the house completely painted. All new appliances gave a much needed facelift to the kitchen.

Mr. 25th Hour had to move in for a few weeks and give the project his full attention. He did a great job adding board and batten to two of the bedrooms and it really provided a nice touch. In the master, he did one wall as a focal point. In one of the secondary bedrooms, he added the trim to all four walls but only covered about 2/3rds of the wall and added a fresh pop of green color (Hearts of Palm – SW6415) above the bright white walls (Charleston White by SW).

In the third bedroom, we decided to add twin beds and we wanted to add a fun element in this room as well. We selected exterior galvanized metal lights that we installed over each bed and also added individual light switches by each bed so that the lights could be used as reading lights. We also picked out a fun vivid blue for this room – Swimming (SW6764).

We used Charleston White as our main wall color throughout the house and Lattice (SW – 7654) on the kitchen and bathroom cabinets.  We loved the color “Swimming” so much that we decided to paint the interior of the garage the same color.  It is a nice cheery surprise each time we arrive.

Here are some pictures of the before and after of the interior.


Family Room and Dining Room BEFORE

Family Room and Dining Room BEFORE


Family Room "AFTER"

Family Room “AFTER”


Master Bedroom BEFORE

Master Bedroom BEFORE

Master Bedroom with new floor, board and batten wall treatment.  Love the light blue ceiling.

Master Bedroom with new floor, board and batten wall treatment. Love the light blue ceiling


Queen Bedroom BEFORE

Queen Bedroom BEFORE

Queen Room AFTER with new Board & Batten trim throughout the room

Queen Room AFTER with new Board & Batten trim throughout the room


Twin Room BEFORE

Twin Room BEFORE

Twin Room AFTER with Individual Lights Over Each Bed

Twin Room AFTER with Individual Lights Over Each Bed


Porch BEFORE

Porch BEFORE

Porch "AFTER" with new paint and furniture

Porch “AFTER” with new paint and furniture


Kitchen Before

Kitchen Before

Kitchen "AFTER" with painted cabinets and new appliances

Kitchen “AFTER” with painted cabinets and new appliances


SeaRenity Now our home away from home at IOP

“SeaRenity Now” our home away from home at IOP


We are very happy with how things turned out.  As far as the exterior, More About That next week!

Happy Valentine’s Day! ~ 

      25th Hour Gal


All Decked Out

With the old shrubs cleared away, the next step was to design the new front porch and find the builder for this project. We knew we wanted something bigger and honestly, I was the one that pushed for the extra space. Mr. 25th Hour was fine with a slightly smaller porch. Thanks for letting me win this one!

Anyway, we spent lots of time riding around and taking pictures of front porches on other homes that we liked. This decision was one of the easiest ones that we made in the home renovation project. We also decided to add a deck coming off the back screen porch. We wanted something for grilling but also an outdoor area where we could sit and the grill master (Mr. 25th Hour) could relax while grilling the steaks we plan to have after finishing this project!  We designed an area with built in benches and the cool part is that we added storage compartments under the seat of each bench.

Back deck with Storage Benches

Back Deck With Storage Benches

Front Porch "BEFORE"
Front Porch “BEFORE”


Front Porch "AFTER"

Front Porch “AFTER”


We think both projects turned out great!

Welcome to the Jungle

Did I mention previously that we applied to be a part of a new HGTV show for vacation rental homes that needed a makeover?  We could have used their help!  Big SOS here!!!  We were actually more overwhelmed with the overgrown landscaping (and I use the term “landscaping” loosely) than with the work that needed to be done on the inside.

About three weeks after we closed we had several inches of rain and our front yard and driveway were soon underwater! We were thinking that it would soon subside but they don’t call it the low country for nothing! At this point we knew we needed some serious help and called in the professionals from YardWorks.  The back yard was bordered by many overgrown Elaeagnus (pronounced:  Ug-lee-ag-nus).  The house was surrounded by shrubs that had never been pruned.  The front yard no longer had grass probably due to the flooding.

Front yard with weeds and overgrown shrubs

Front yard with weeds and overgrown shrubs


Back yard Ugly-agnus and beautiful 250+ year old Live Oak

Back yard Ugly-agnus and beautiful 250+ year old Live Oak

The team at YardWorks put together a great landscape plan and suggested dry wells to eliminate the periodic flooding in the front yard.  It took a team, a bobcat, two dump trucks and two days to eliminate all of the existing shrubs and weeds but it looked so much better and we could actually see the beauty of the 250+ year old Live Oak Tree.

Front Yard Debris

Front Yard Debris


Backyard debris

Backyard debris


And now we have a clear canvas for the starting point of our new landscape plan.  First, we will be replacing the driveway, followed by adding the dry wells and we also have a new deck to build.  Why a new deck you ask?  Because, the current one was never attached to the house!?  Seems like that would have been noticed by the building inspector at the time….just sayin!

Weeds are still there but overgrown shrubs GONE!

Weeds are still there but overgrown shrubs GONE!

25th Hour Gal


Paint Your Brick Fireplace – It’s Easier Than You Think!

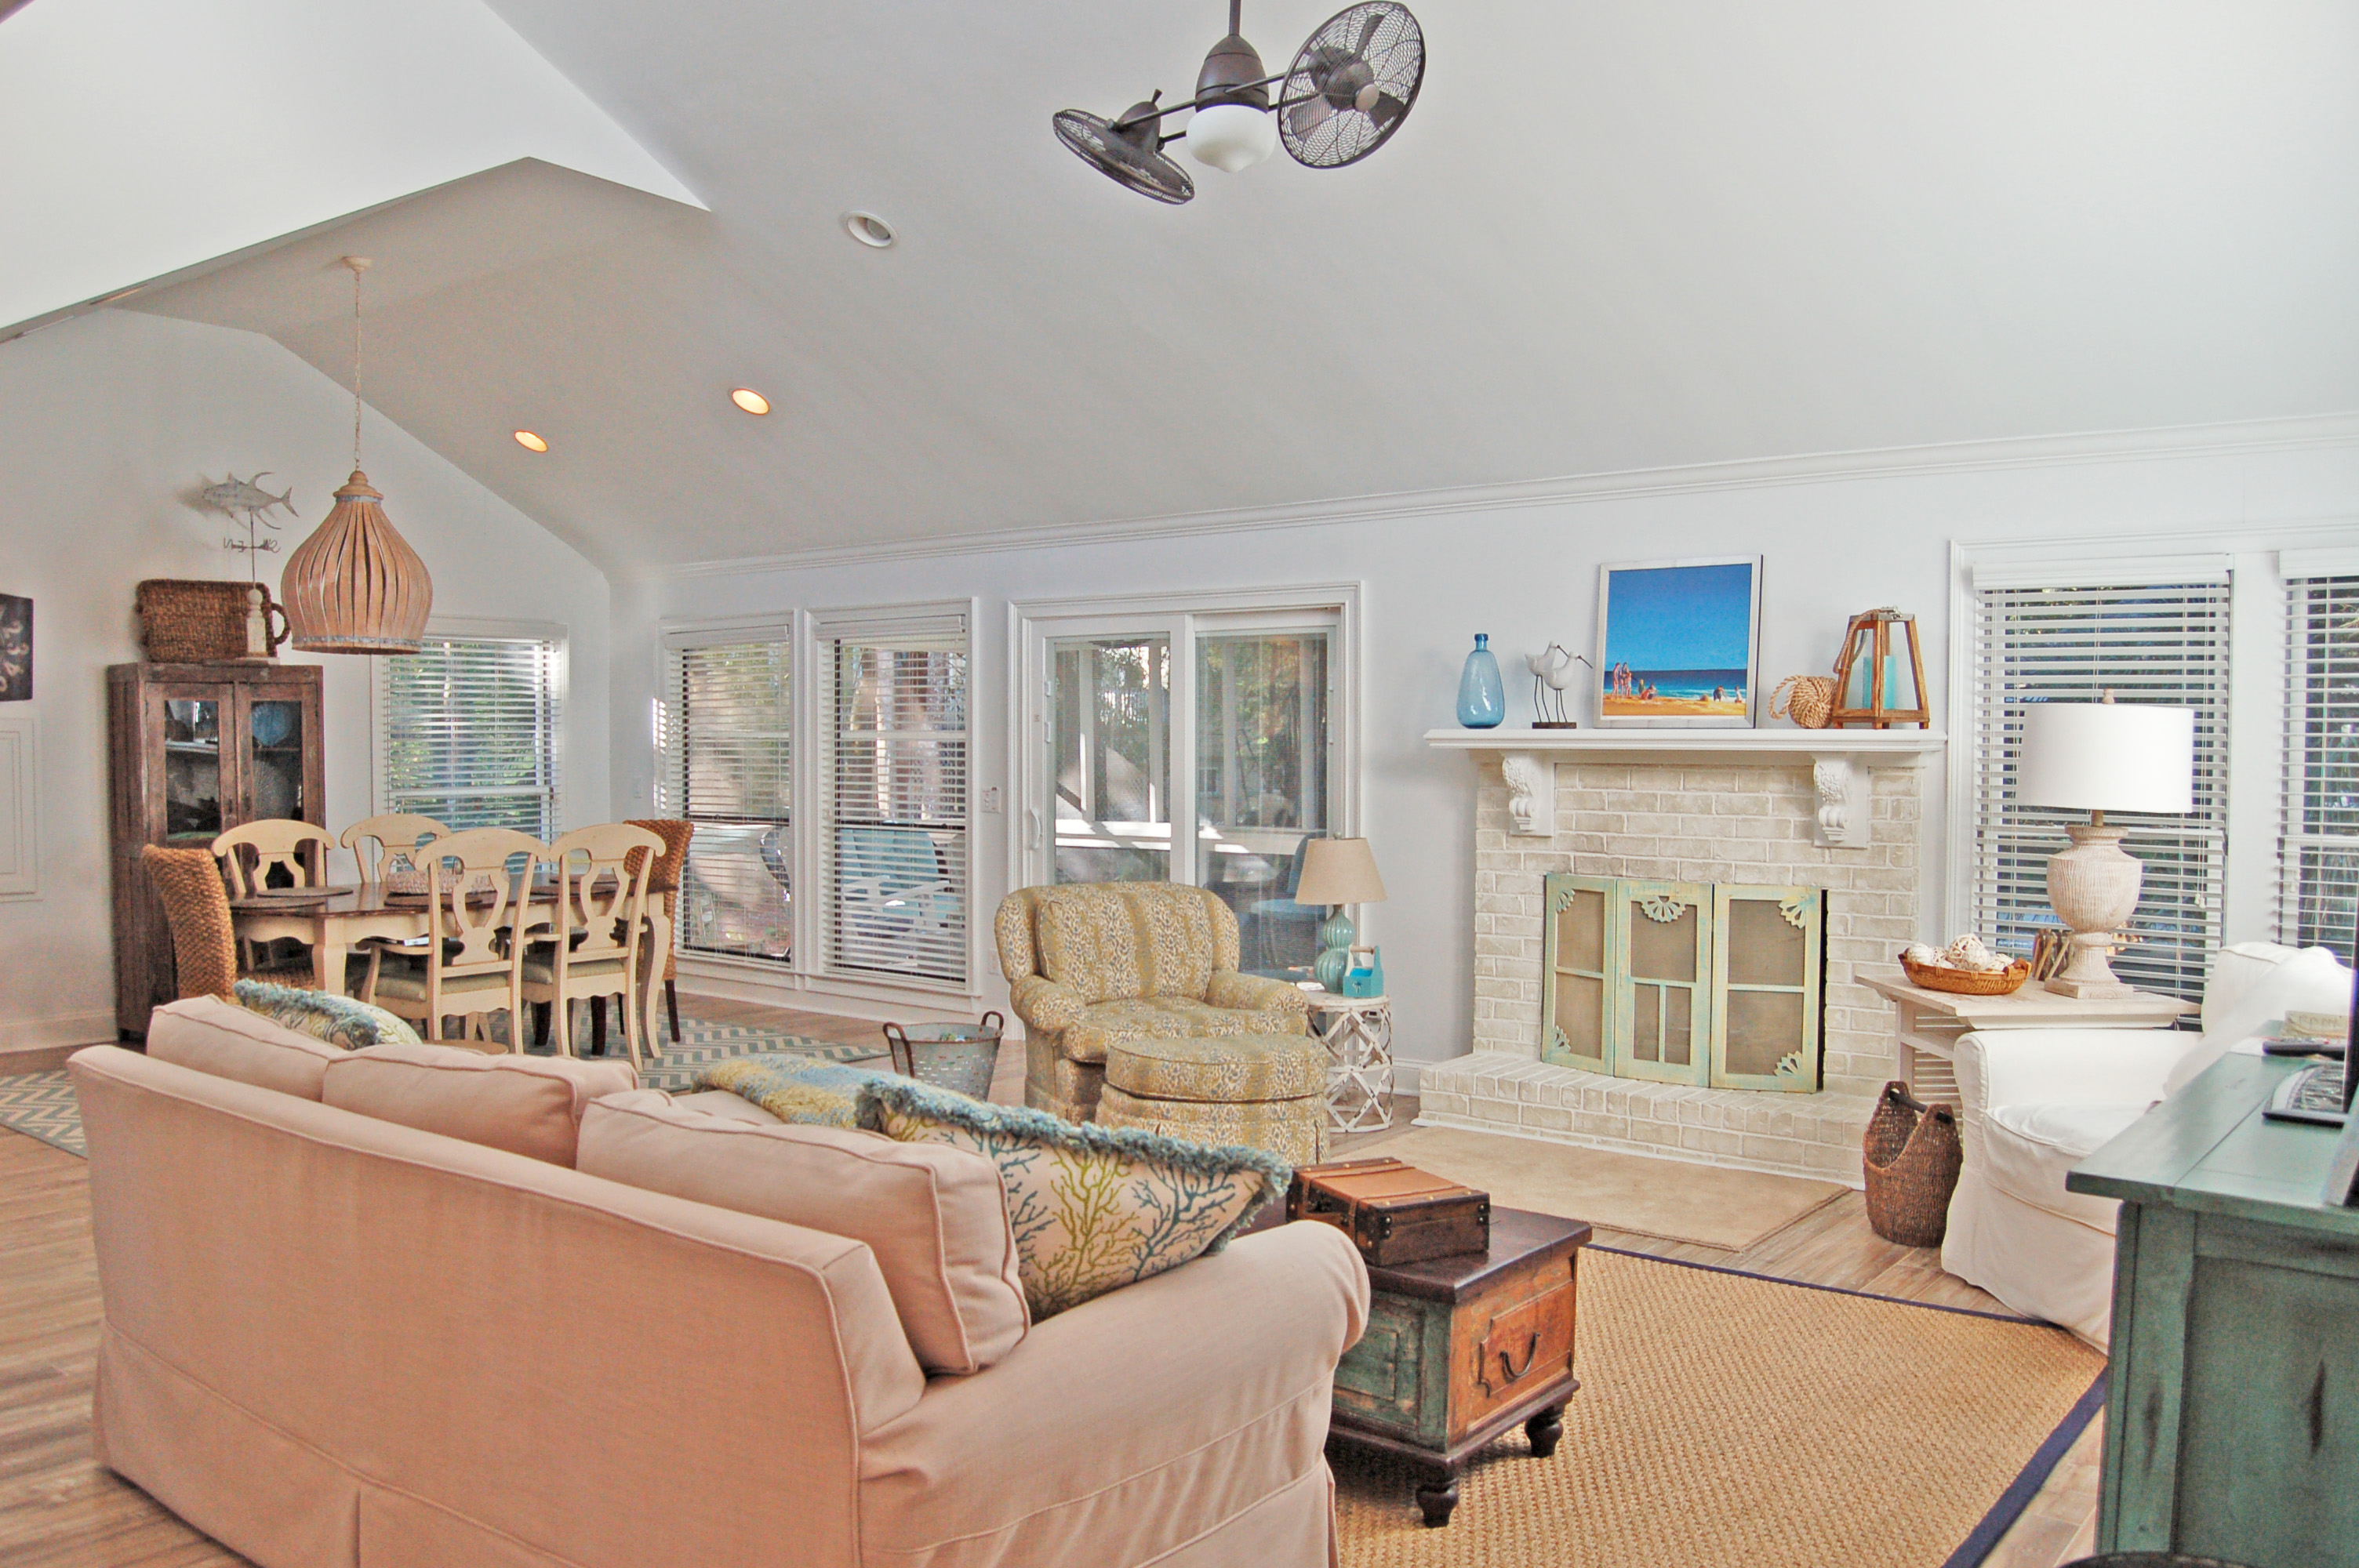
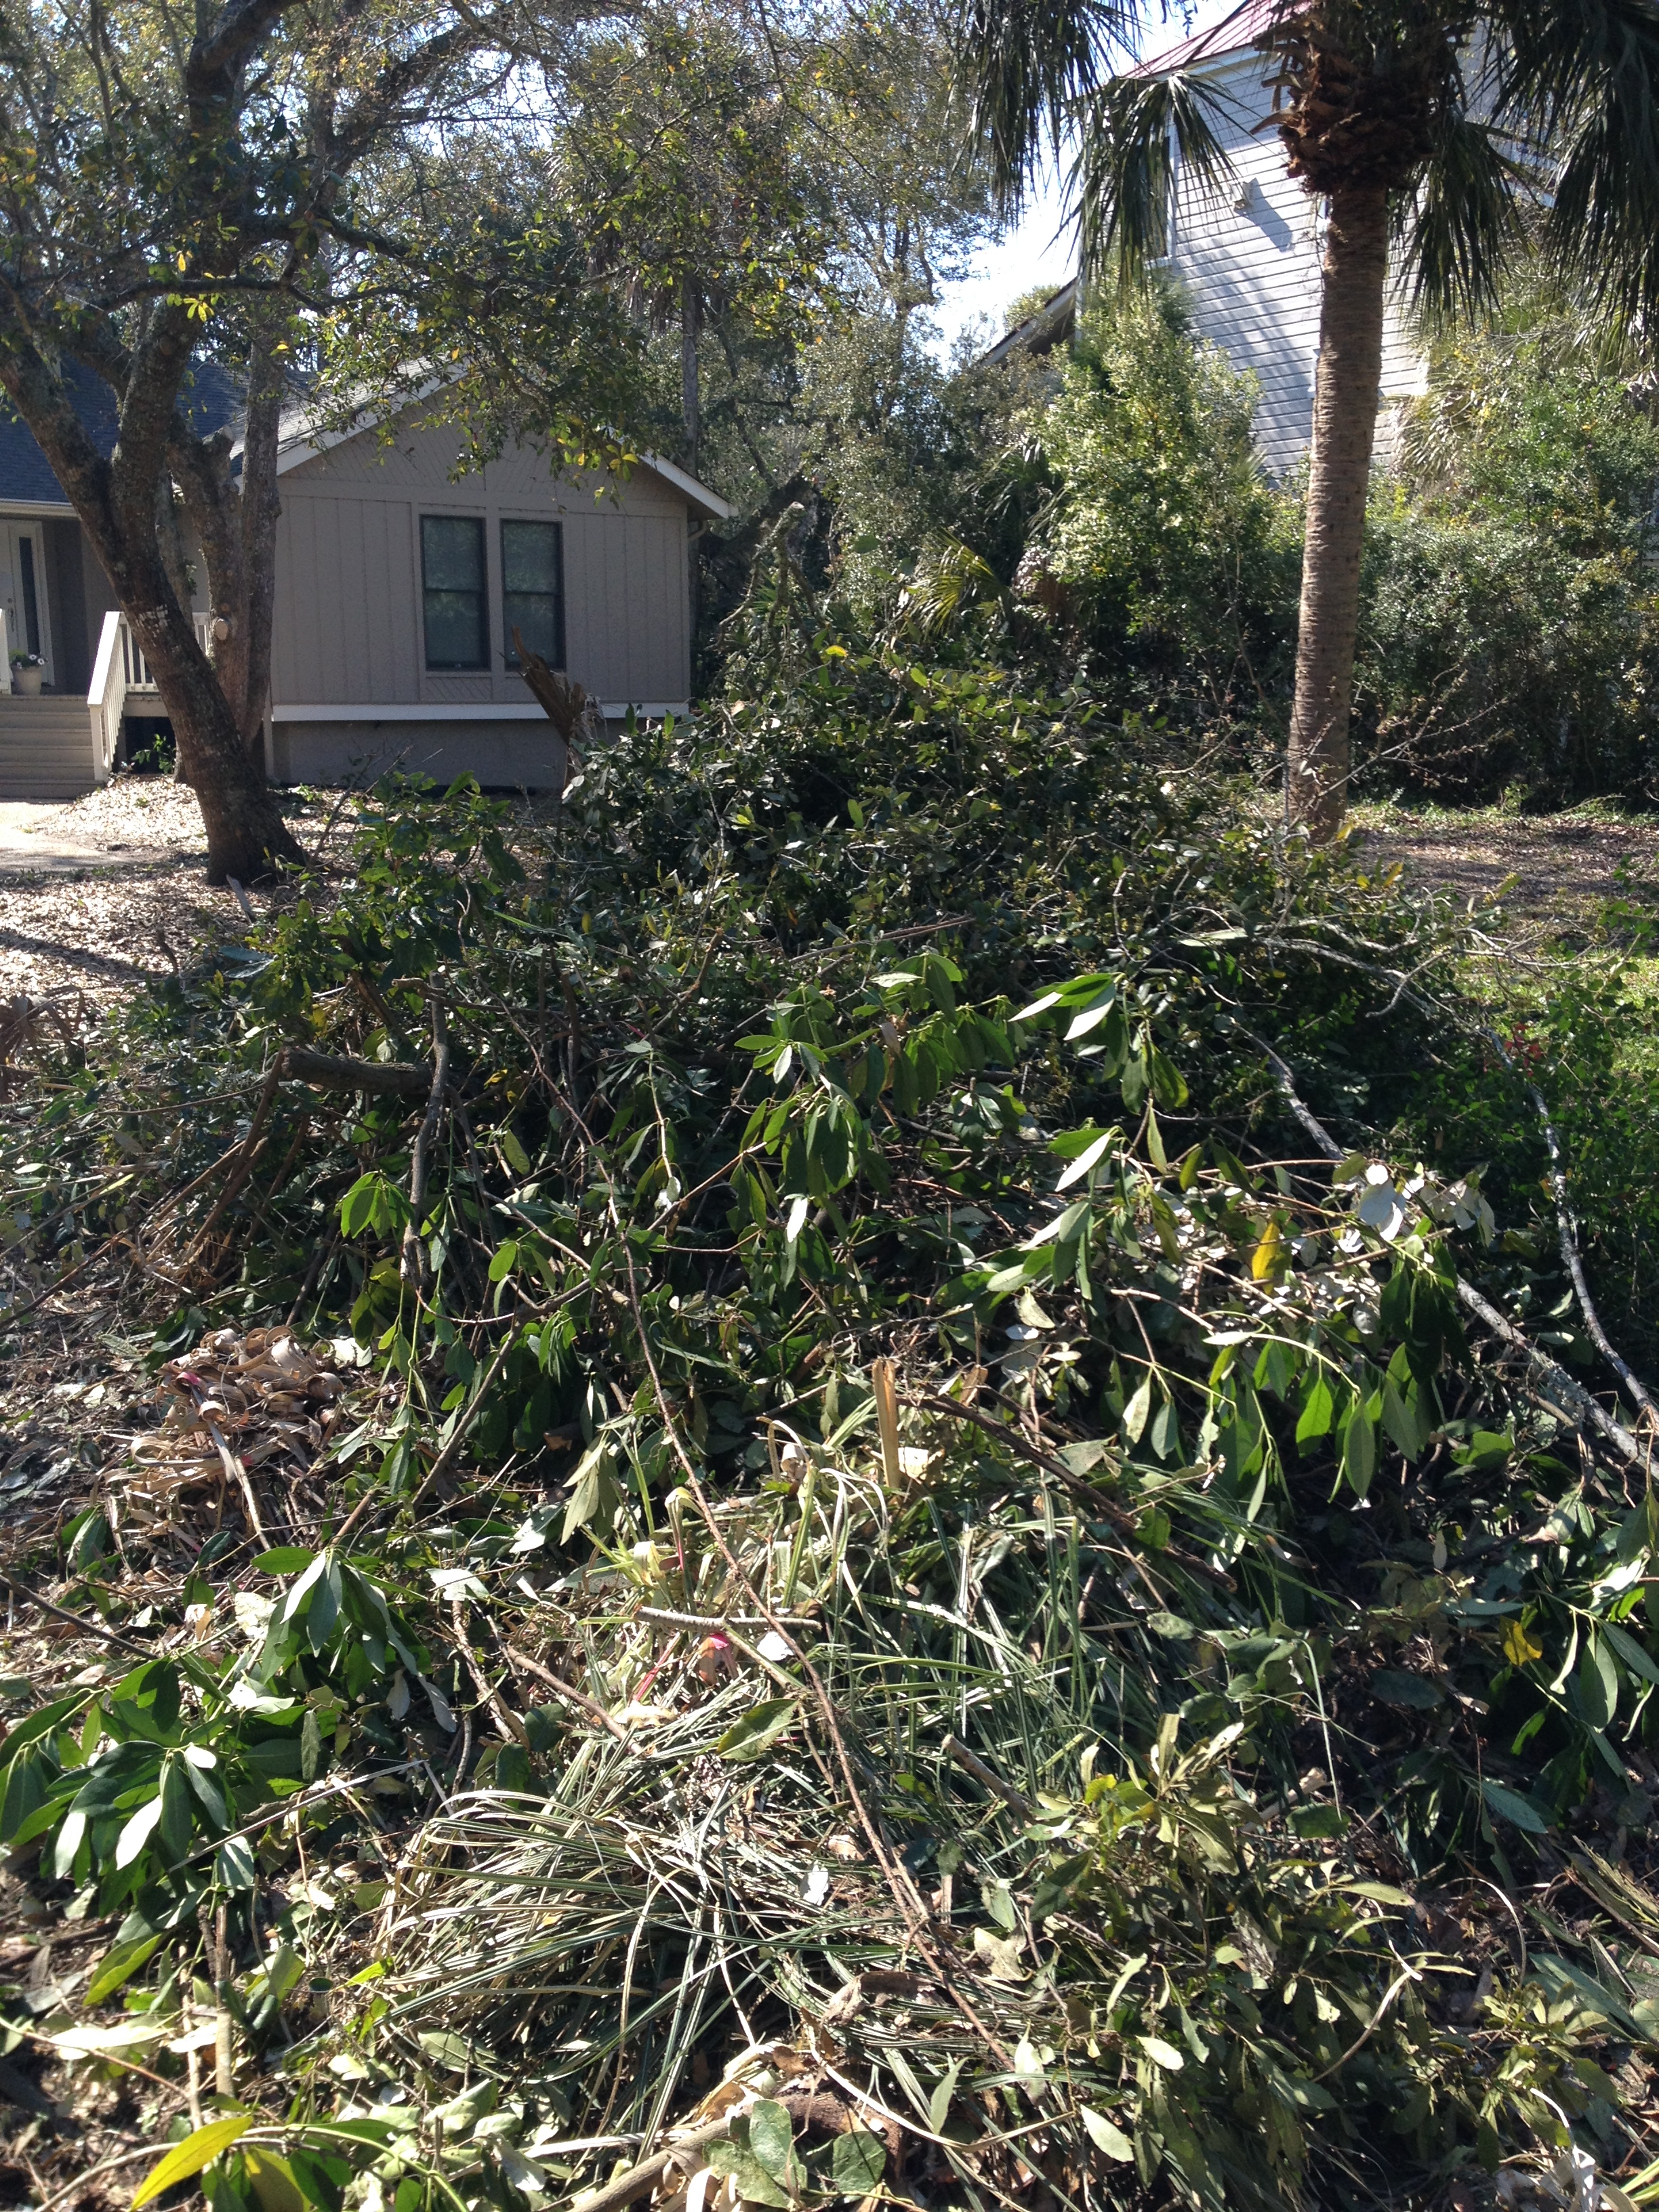
I decided that my first DIY project for Searenity Now would be to tackle the fireplace. It wasn’t ugly but it didn’t look beachy. I searched Pinterest and lots of other sites to find out how to give the fireplace a makeover, and I found an easy step-by-step guide on the Lowes site.

The very 'un-beachy' fireplace

The very ‘un-beachy’ fireplace

One rainy day, I went to Lowe’s on my mission to find the paint colors I wanted to use.  I wanted a white shade for the background that blended in with the white on the walls and then for the darker color, I wanted something that wouldn’t offer too much contrast.  I ended up using Benjamin Moore White Dove for the base (because I happened to have it already).  For the top coat, I used Oatlands Subtle Taupe by Valspar (6005-1B).

The first thing I did was to wipe off the exterior brick with a damp rag.  I also ran a hand vacuum over the exterior to get cobwebs and any dust and debris off the hearth.  No offense to the previous owner but let’s just say that she could have spent a little more time on cleaning.  I didn’t bother with the interior of the fire box as I knew I was going to put a screen over the front.  If you want or need to paint your firebox, I recommend you start with that project before moving on to this project.  I did paint the one row of bricks around each edge but nothing inside the firebox.

I then taped some paper to the floor using FrogTape and also taped around the edge of the brick to protect the wall.  You know, just in case of a spill.  I am prone to accidents so I plan ahead!  By the time I had the paper down the brick was dry from cleaning and it was time to start the painting.

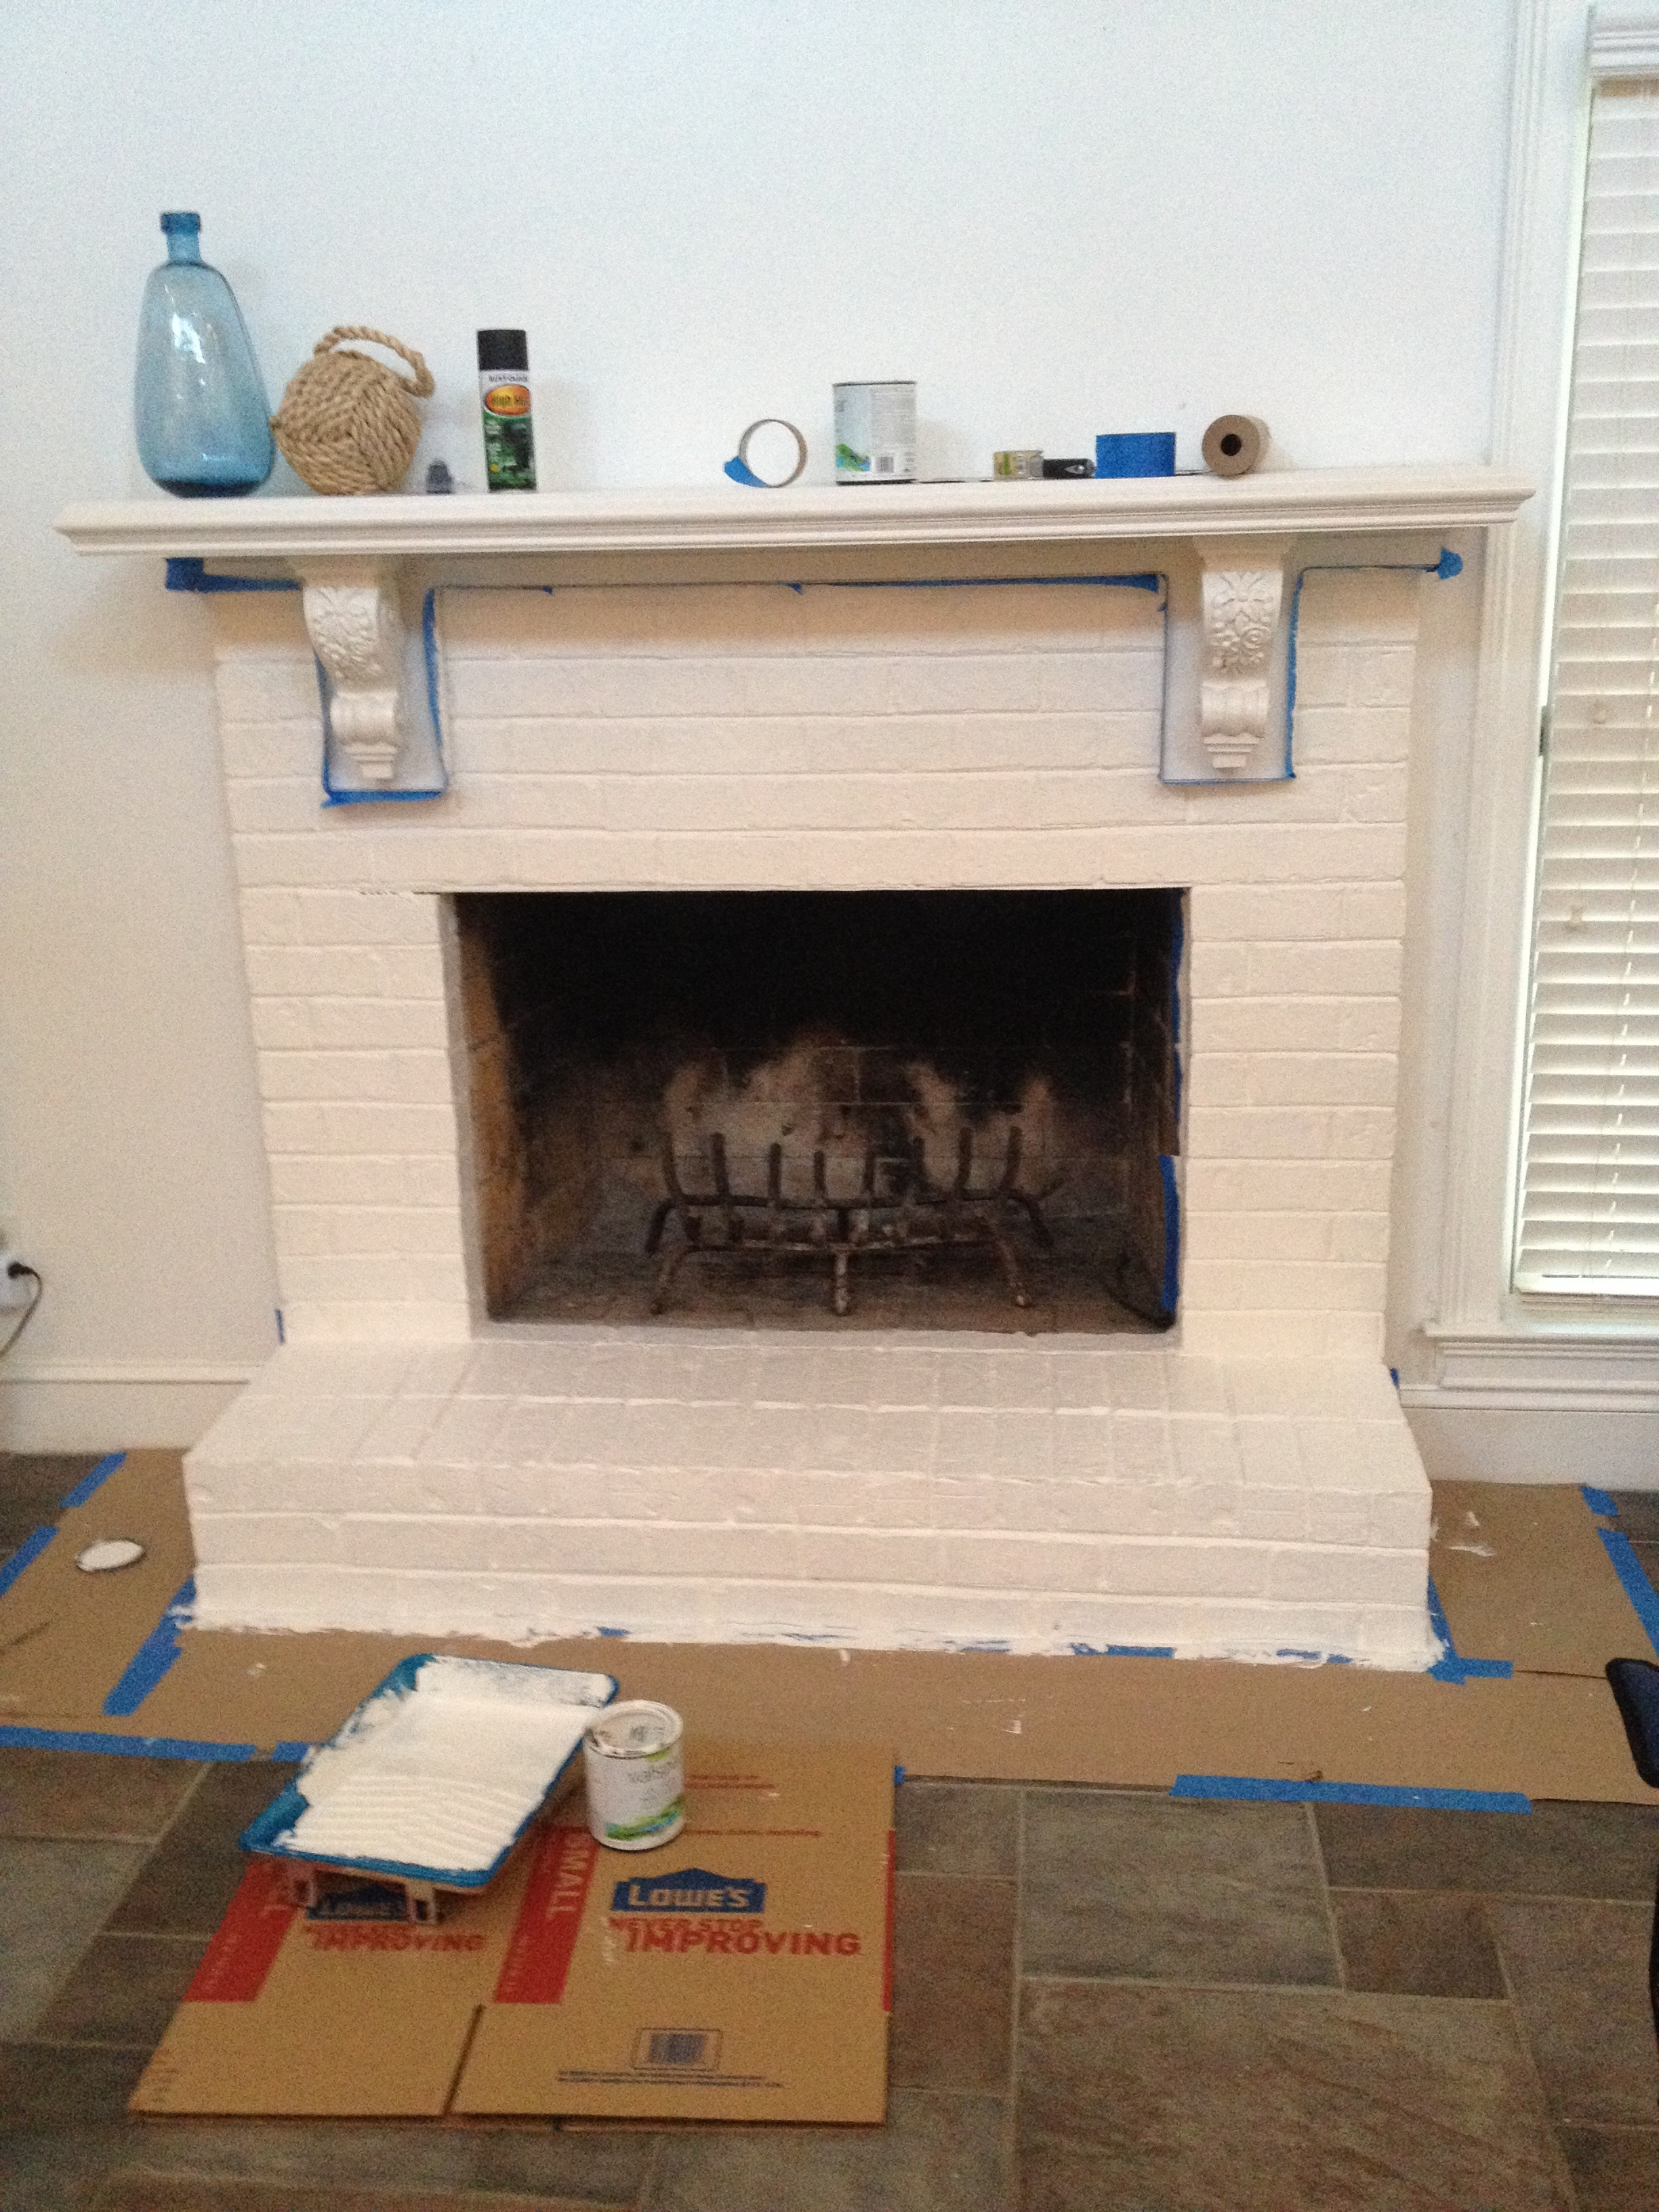
For the white coat, I used a cheap brush and a roller specifically for rough surfaces.  I think Lowe’s offers “Good,” “Better” and “Best” brushes.  A “Good” brush is fine for this project because I promise you will throw it away when you finish.  First, using the paint roller, paint the entire brick area.  You will use the brush to paint the mortar that the roller doesn’t cover.  Load a lot of paint on the brush because the mortar between the bricks will really need a lot of paint for coverage.  You may have to move your brush in both directions and even jab at the mortar a little with the brush to get the paint in all the cracks and crevices.  You really want to make sure you have everything completely covered with your white color before moving to the next step.

First step complete!

First step complete!

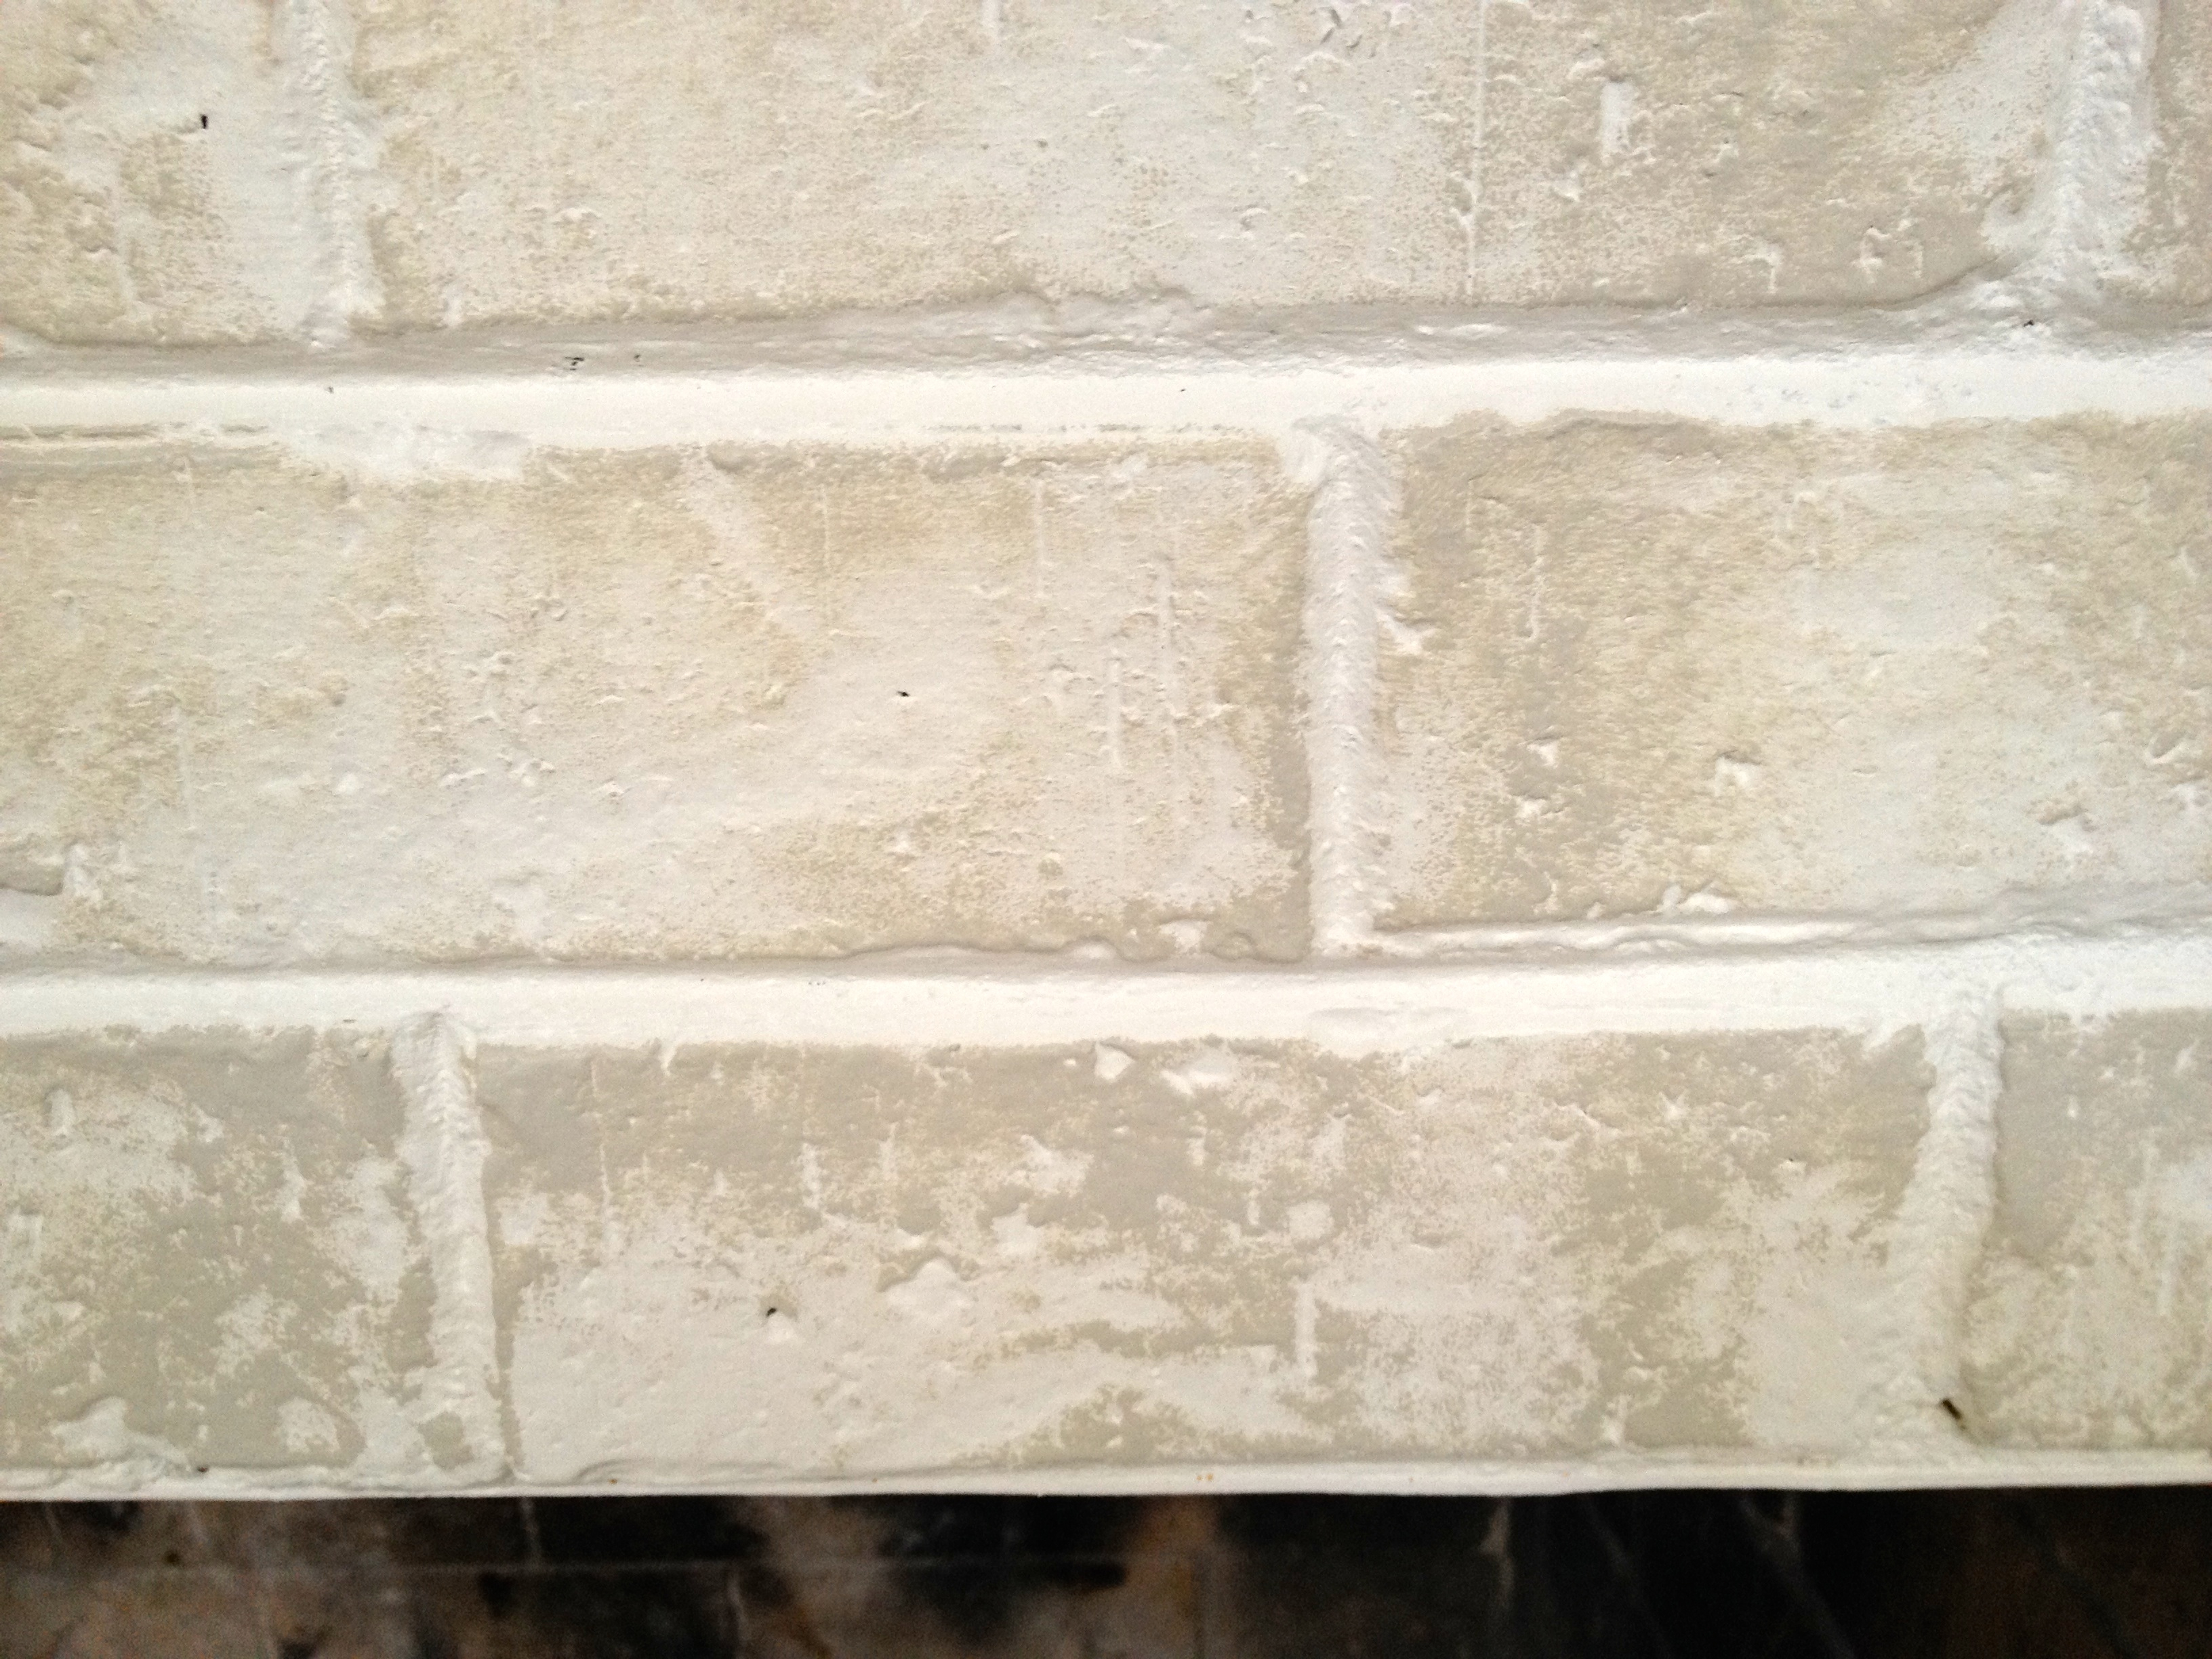
Let the white coat completely dry and touch-up where needed.  Once that coat is complete, you can move on to your contrasting color.  This is where I stopped using the Lowe’s instructions and came up with my own technique.  I used a 4″ foam roller for the top coat with the contrasting color.  Foam is important as you only want to lightly hit the high spots of the brick, not completely cover it.  This top coat takes about 20 minutes.  Very quick and easy!


You want the darker color to be uneven.

You want the darker color to be uneven.

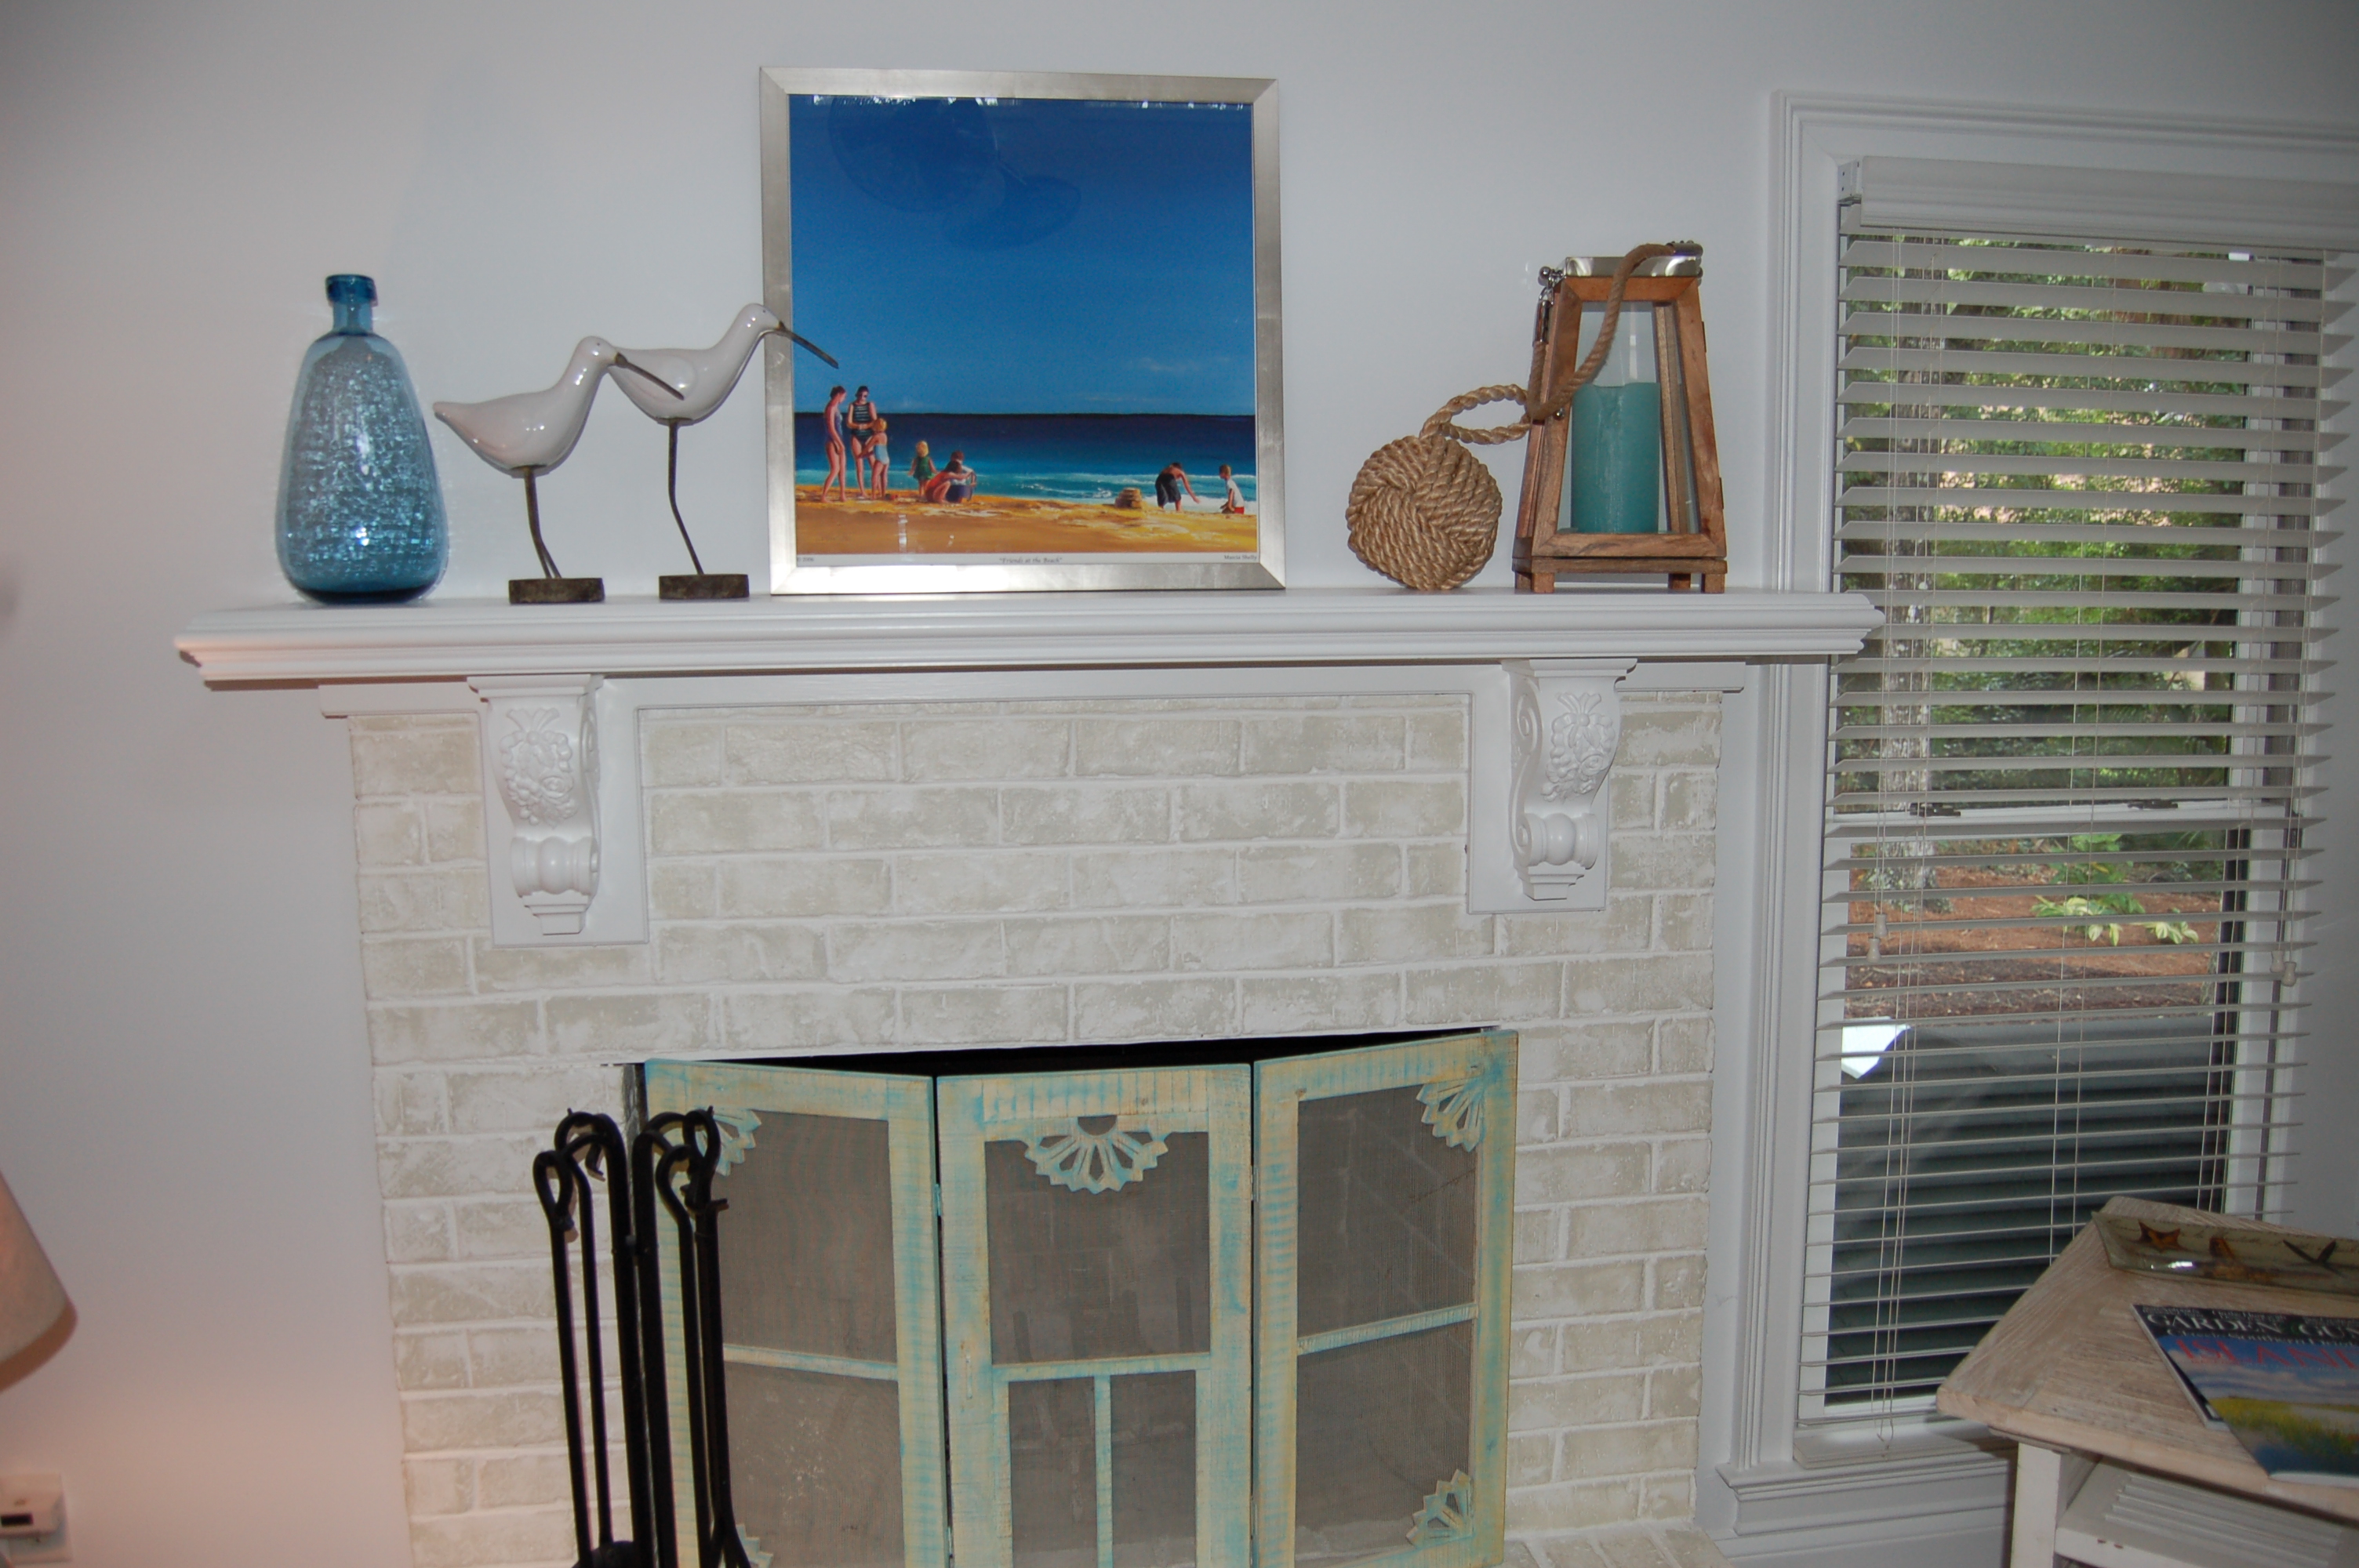
I completed the entire project the same day and I love the result.  Don’t you think it looks more beachy?  And guess what….no spills!  This was a very easy project.  Here is the final with the new decor.

The new 'beachy' fireplace completed!

The new ‘beachy’ fireplace completed!